1. Open top of the box using caution to avoid all metal staples
2. . Remove top packing material and seat assembly.
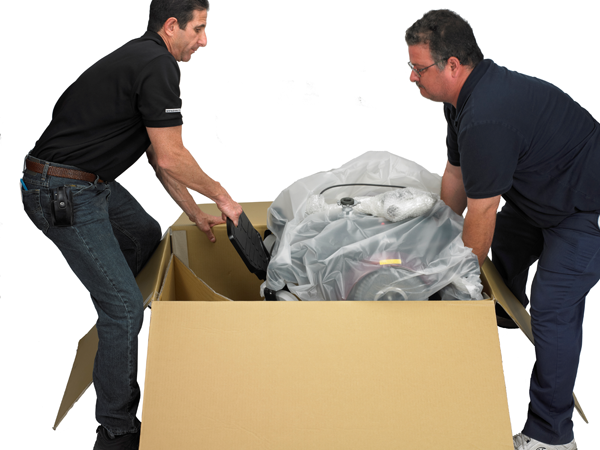
3. Have two people lift the scooter out of the box.
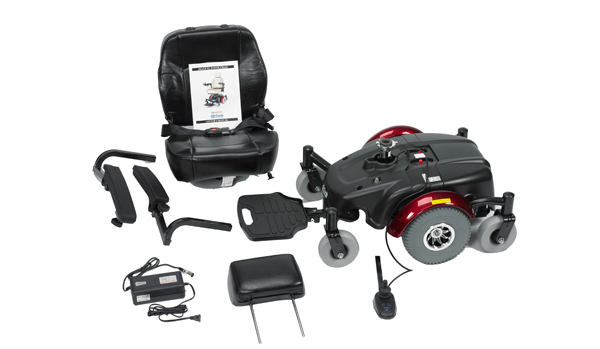
4. Remove all packing material and verify that all parts are present.
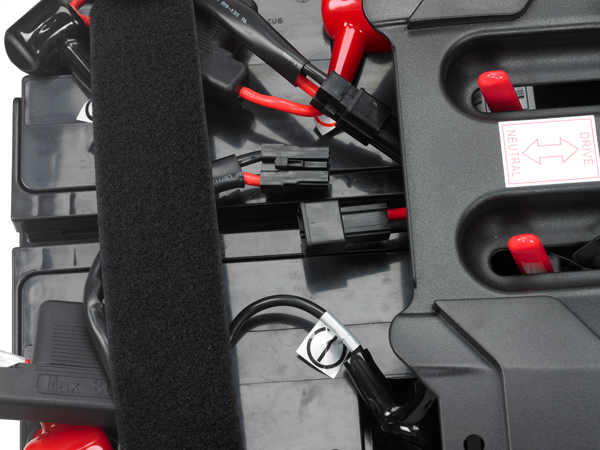
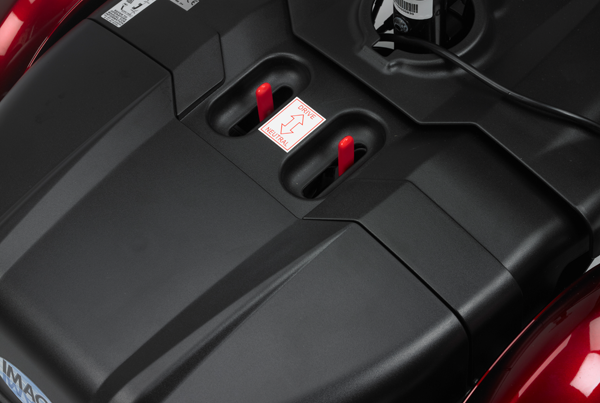
5. The batteries are shipped disconnected and must be reconnected. To access the batteries lift of the battery cover located in the rear of the base.
6. Locate the disconnected battery connector and wire harness connector.
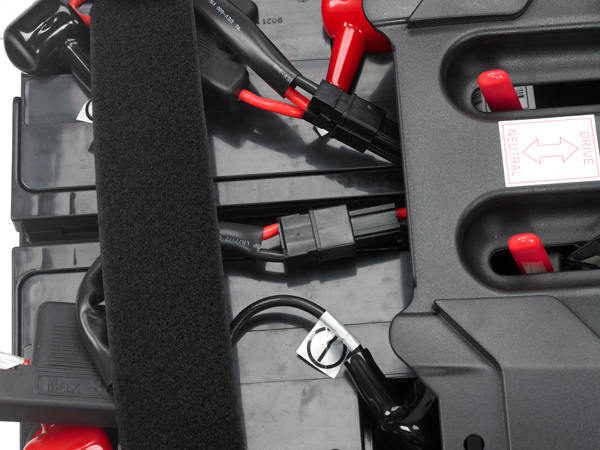
7. Reconnect the battery connector to the connector in the wire harness.
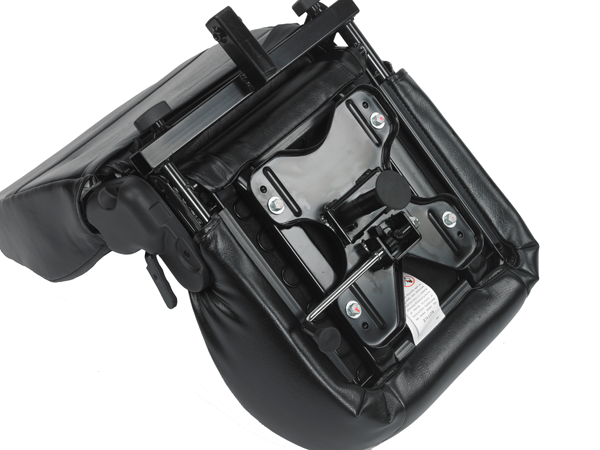
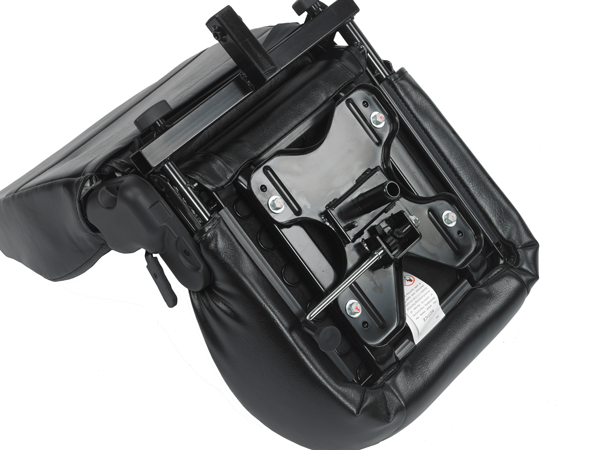
8. Locate the seat plate protection cap on the bottom of the seat assembly.
9. Remove the protection cap and discard.
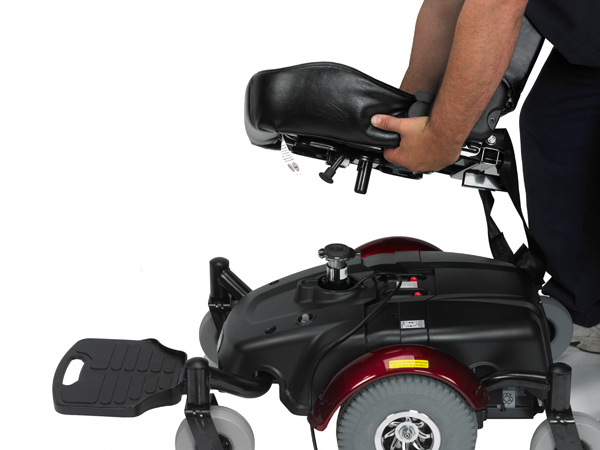
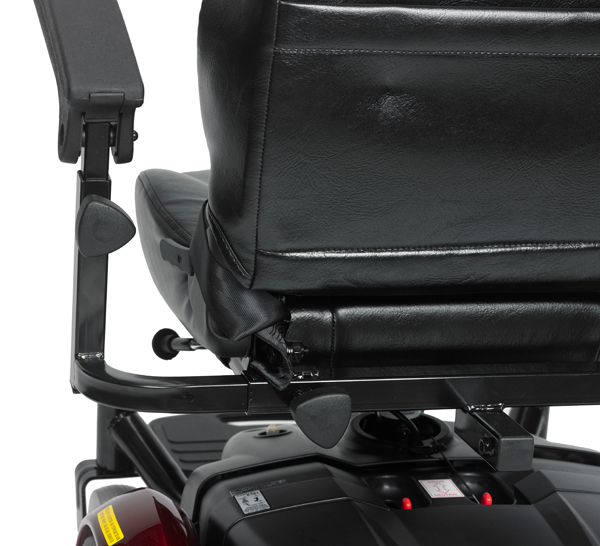
10. Install the seat assembly onto the Image EC base by sliding the seat plate into the seat tube.
11. Lift up on the seat swivel lever and turn the seat to properly set the seat on the seat post.
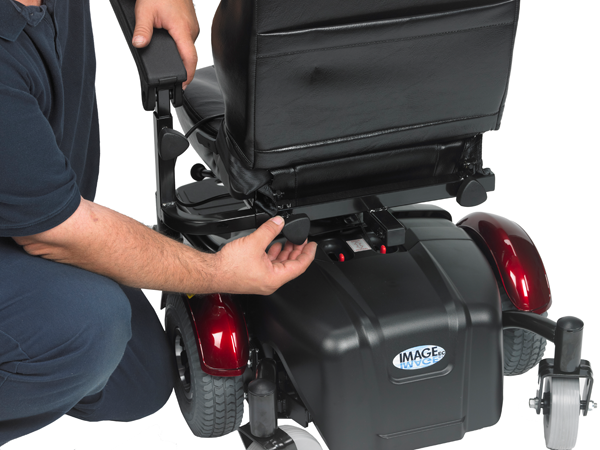
12. Install the left armrest into the left armrest receiver on the seat assembly.
13. Set the arm to the desired width and tighten the adjustment knob.
14. The height of the arm can be adjusted by loosening the arm height adjustment knob and moving the upper arm assembly to the desired position.
15. Repeat steps 12 through 14 for the right side armrest.
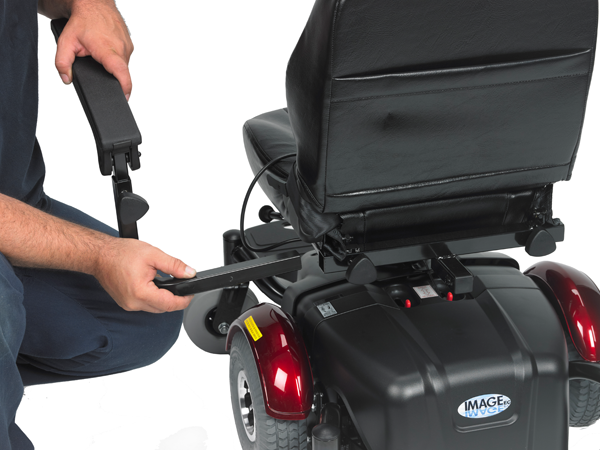
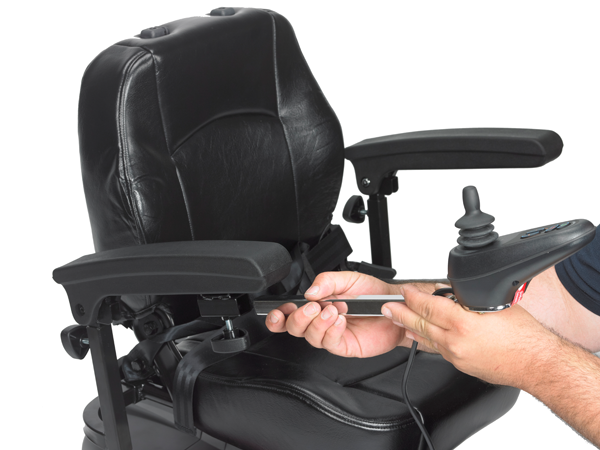
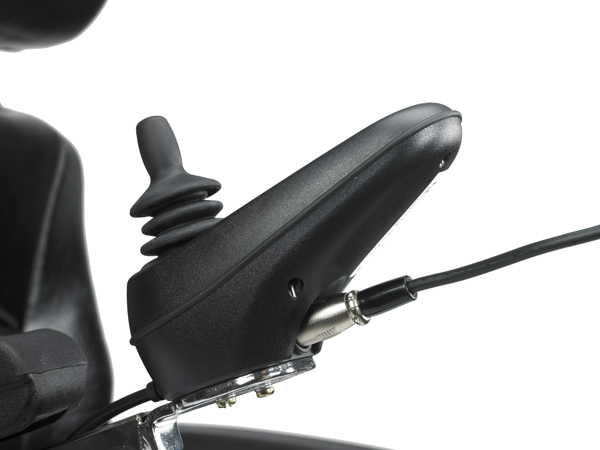
16. Insert the joystick arm into the joystick receiver located under the right armrest. Set the joystick to the desired length and tighten the joystick adjustment knob.
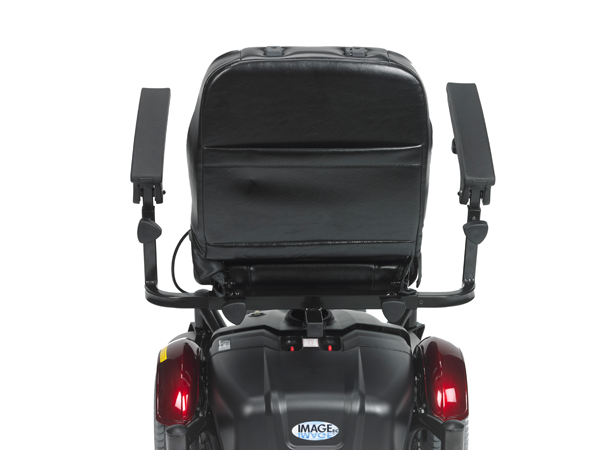
17. Squeeze the headrest adjustment button on the right headrest receiver. Insert the headrest into both headrest receivers.
18. Set the headrest to the desired height and release the headrest adjustment button.
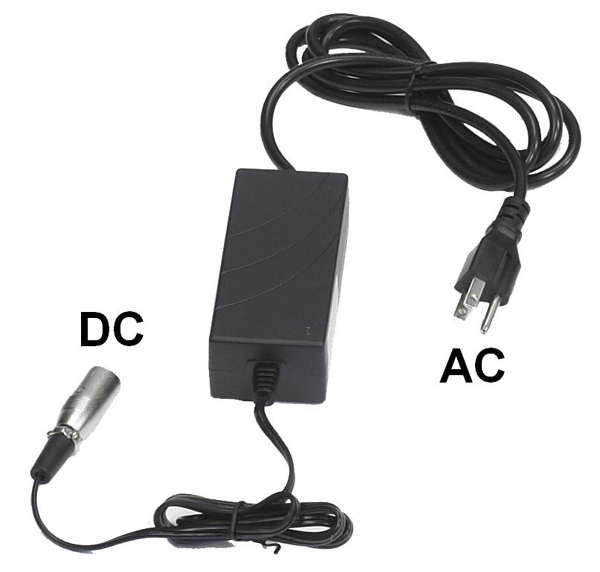
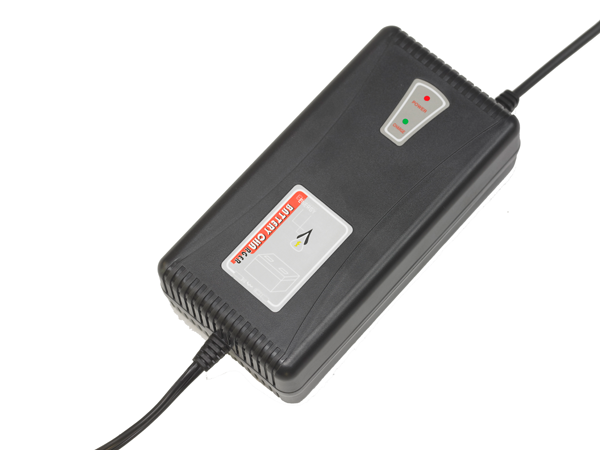
19. Plug the AC end of the charger into a wall outlet.
20. The power light on the charger will be red.
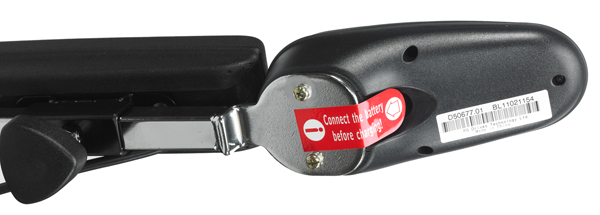
21. Verify that the chair is turned off and remove the sticker covering the charger port on the joystick.
22. Plug the DC end of the charger into the charger port on the joystick.
23. The charge light on the charger will be yellow while charging.
24. When the batteries are fully charged the charge light will be green again. Disconnect the charger from the chair and the wall outlet.
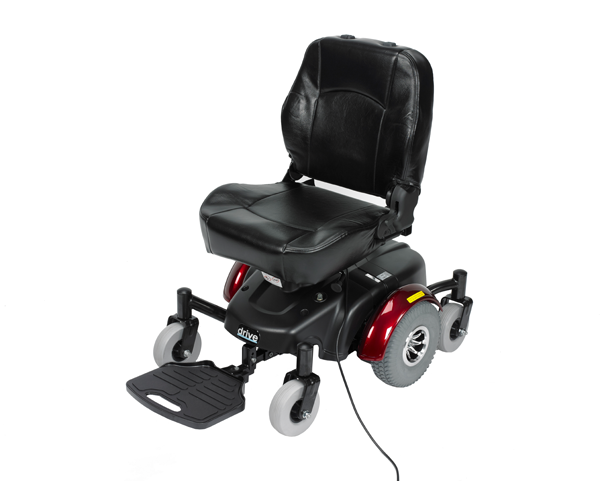
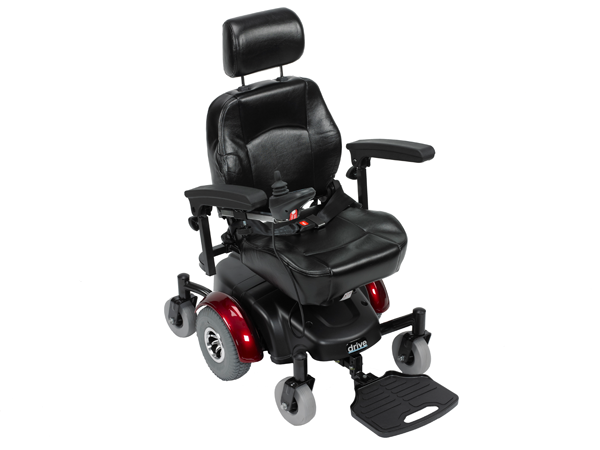
25. The chair is now ready to use. Verify that the free wheel levers are in the drive position.
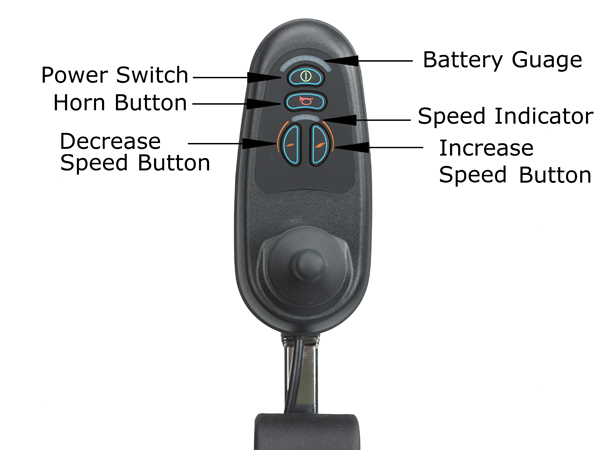
Be aware with all the functions of the joystick before using the chair.


 Home
Home