1. Remove all items from the shipping carton and unfold the chair. Verify that all parts are present.
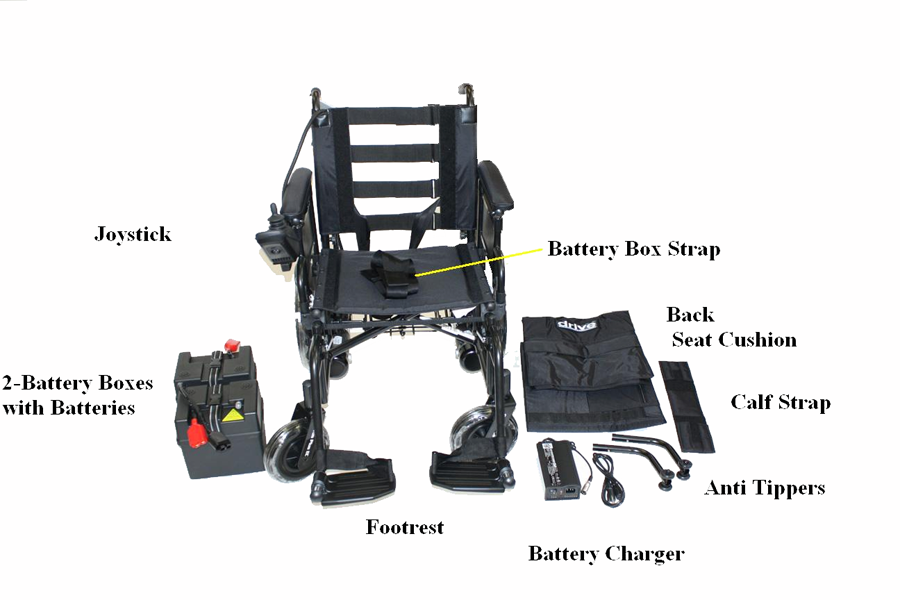
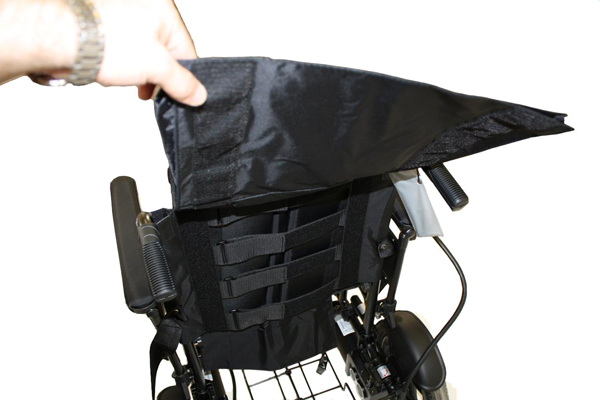
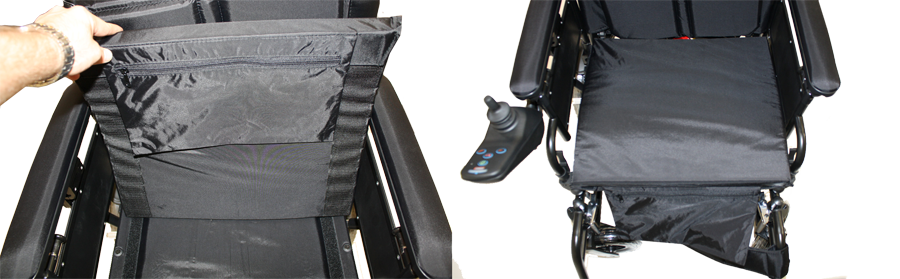
2. The back upholstery outer cover is installed over the inner back upholstery which is already mounted on the Cirrus Plus power chair. Wrap the outer cover around the inner upholstery with the Drive logo facing reward.
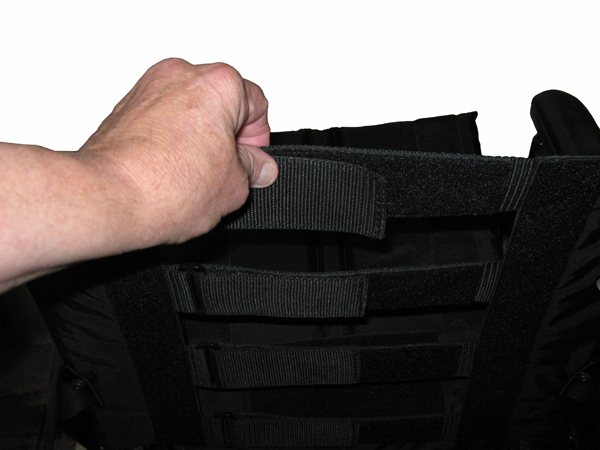
3. Align the Velcro strips on the outer upholstery cover and press together.
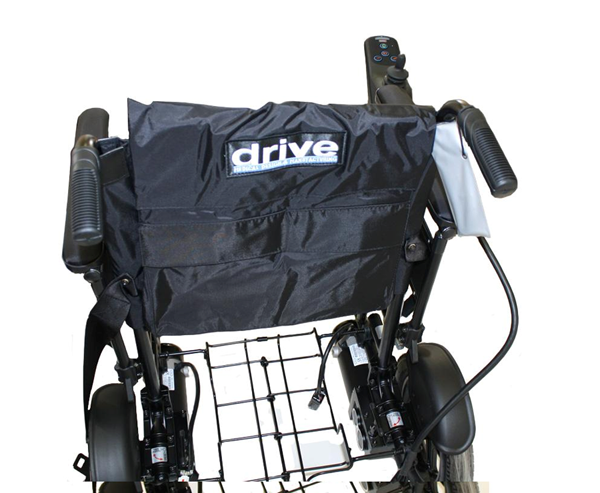
4. The amount of tension in the back upholstery can be adjusted. Remove the outer cover from the back. Release one Velcro strap and pull tighter to increase tension. Loosen up to decrease tension.
5. When the desired tension is achieved reattach the strap. Repeat this procedure for the three other straps. Install the outer back cover.
6. Install the seat cushion on the seat upholstery with the pouch in the front.
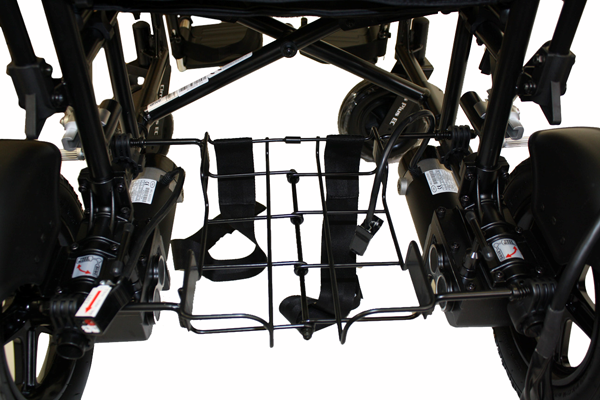
7. Wrap one end of one of the battery straps under either side of the rear of the battery tray. The Velcro should be facing up. Place the hook section of the Velcro over the smooth section of the Velcro and press together.
8. Repeat for the other strap.
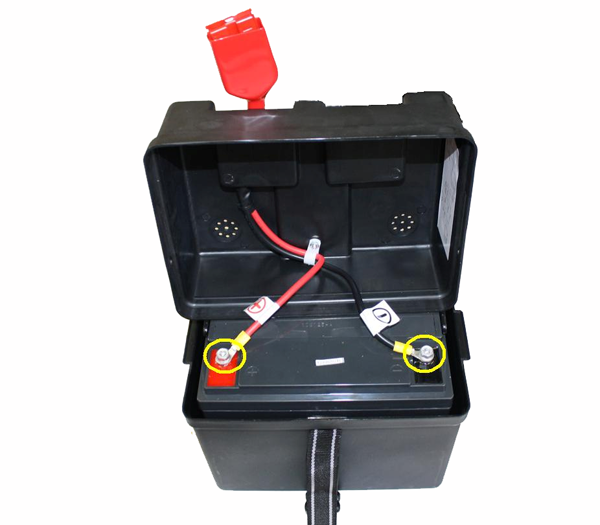
9. Verify that the batteries are connected in the battery boxes.
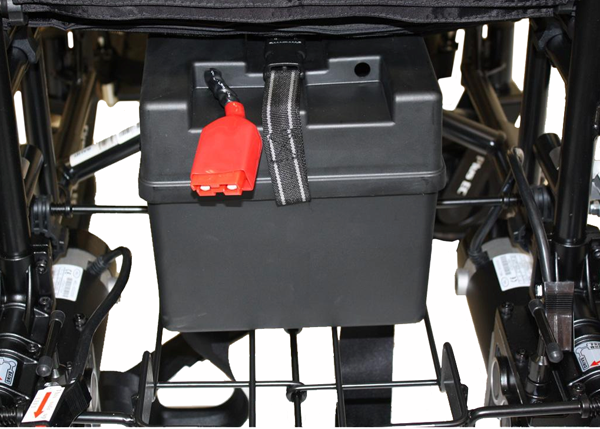
10. Place the battery box with only one connector on the battery tray and slide to the front of the battery tray. The connector should be facing towards the rear of the chair.
11. Place the remaining battery box on the tray with the red connector facing forward.
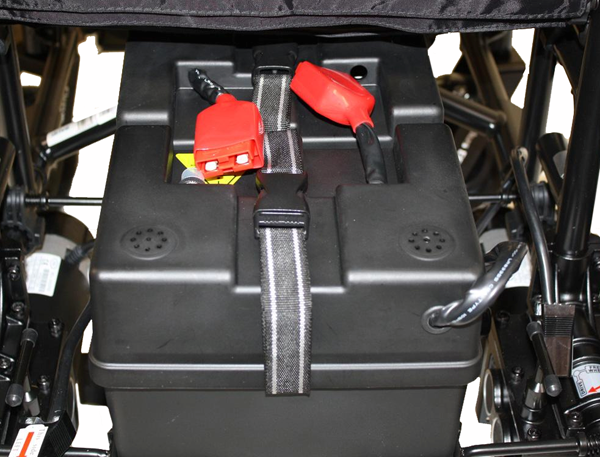
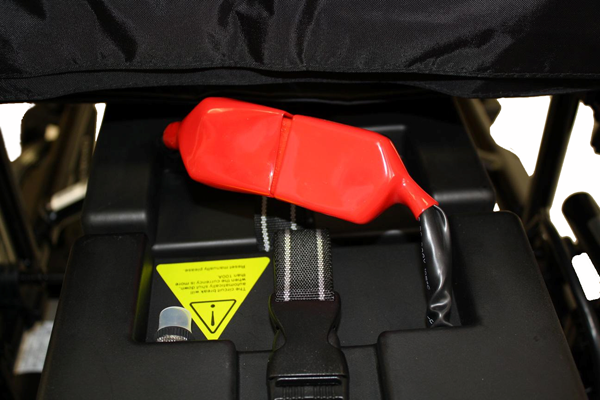
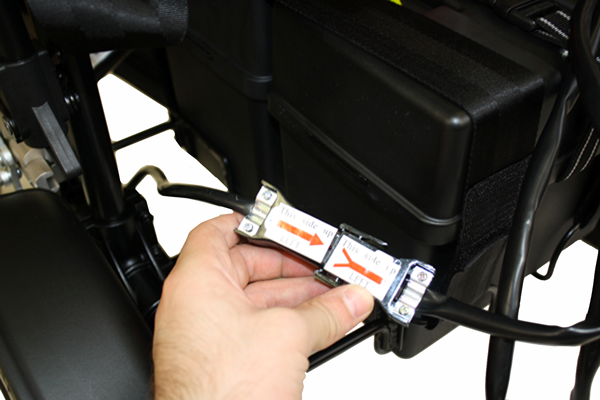
12. Connect the two red connectors.
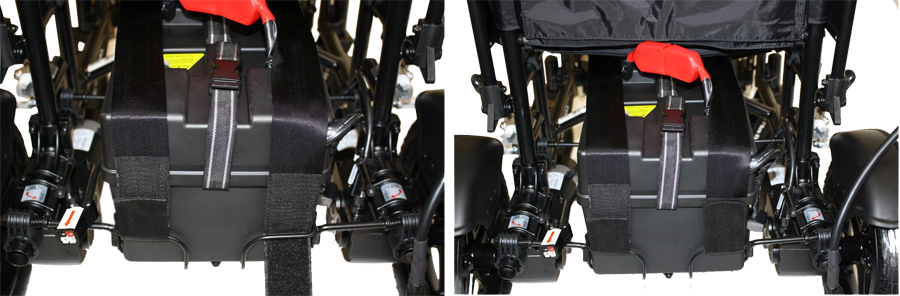
13. Secure the battery boxes with the two battery box straps.
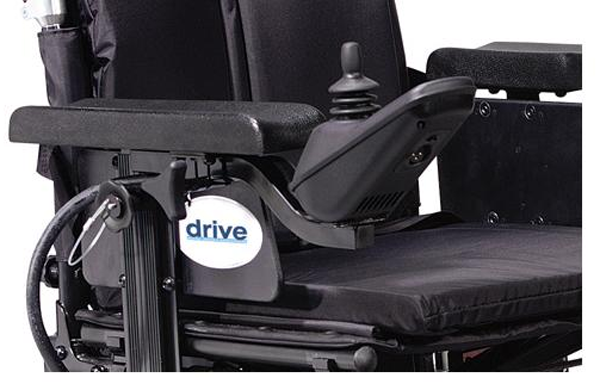
14. Insert the joystick and arm into the joystick bracket on the arm of the Cirrus Plus power chair.
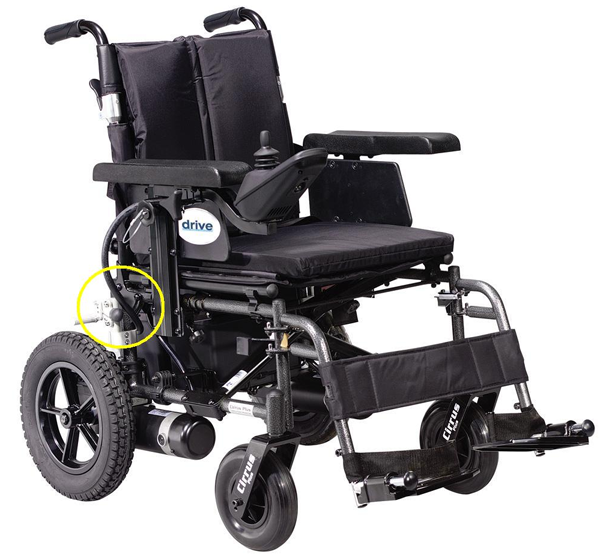
15. Route the wire from the joystick behind the rear upright of the side frame.
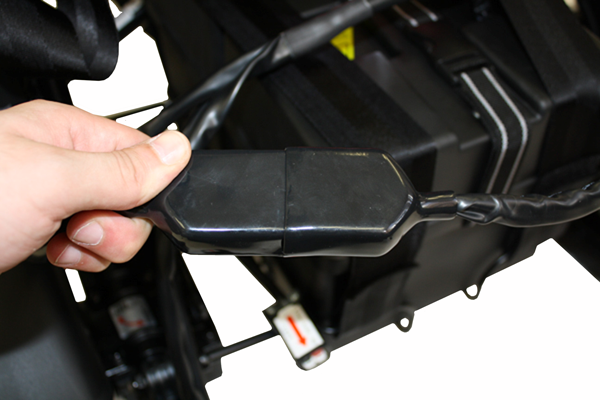
16. Connect the large black two prongs to the black connector from the battery box. The connector will only fit in one way.
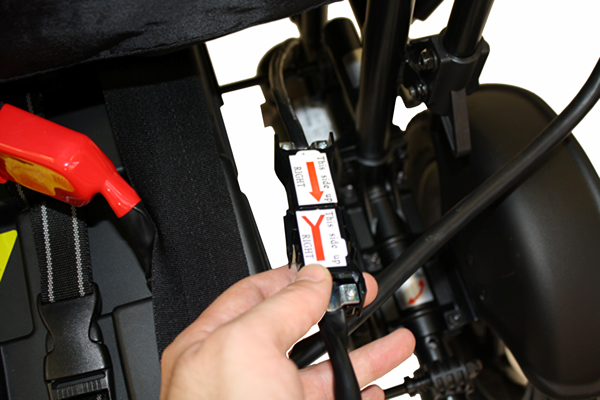
17. Connect the connector marked right motor to the right motor. The connector will only fit in one way.
18. Repeat for the left side.
19. Install one footrest by aligning the hole on the footrest hanger with the pins on the footrest mounting plate on the chair
20. Slide the footrest onto the pins. Swing the footrest inward until it looks into place. Repeat for the other side.
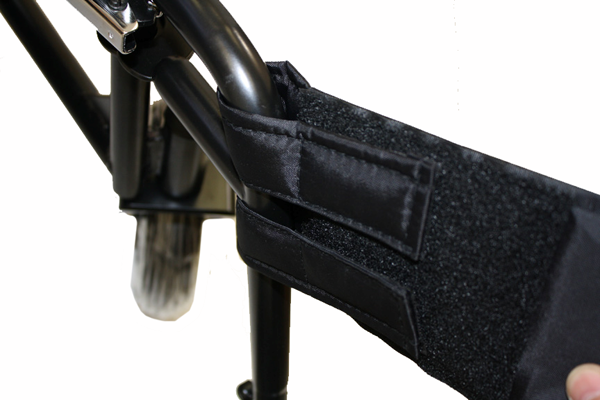
21. The calf strap is attached by wrapping the Velcro straps of the calf pad around each foot rest and adjusted as needed.
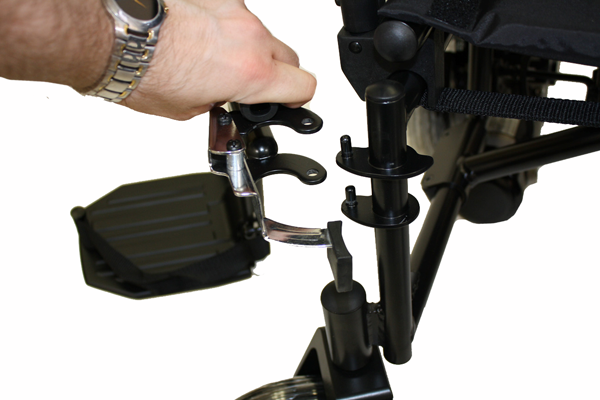
22. To remove the footrest, the calf strap must be removed. Then push the footrest release lever and swing the footrest away from the chair.
23. Lift the foot rest off the chair. Repeat for the other side.
24. Insert one anti tipper, with the wheels facing downward, into the rear lower frame of the chair.
25. Depress both locking buttons and continue pushing the anti tipper into the frame until the anti tipper locks in place. Repeat for the other side.
26. To disengage the anti tipper, depress both locking buttons. .
27. Turn the anti tipper 180 and until it locks into place. Repeat for the other side.
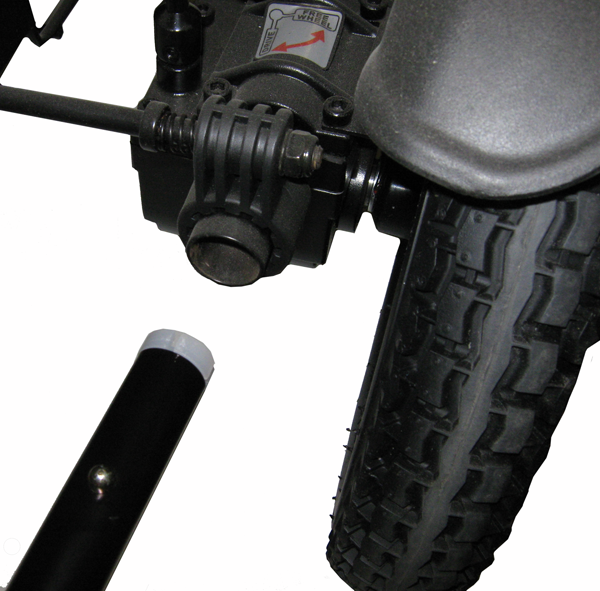
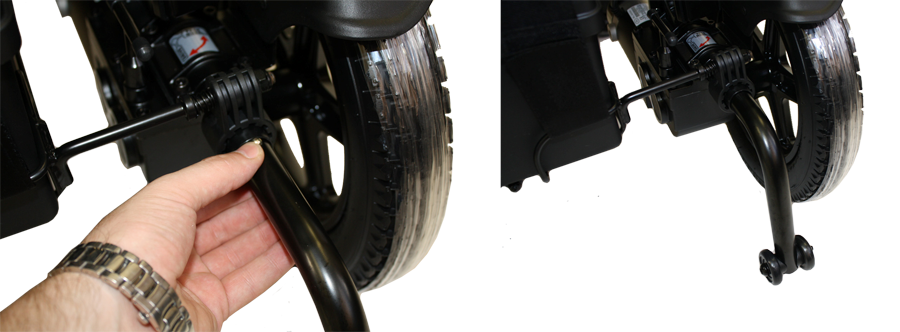
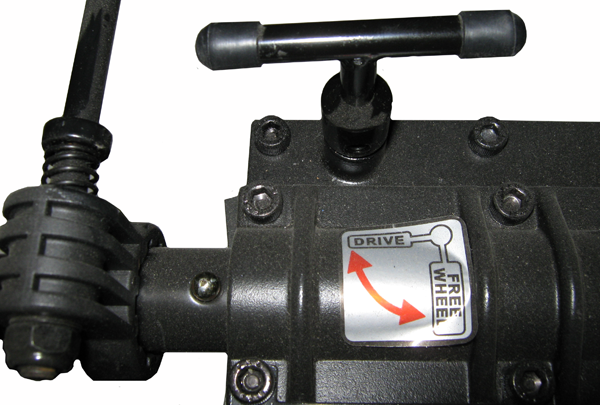
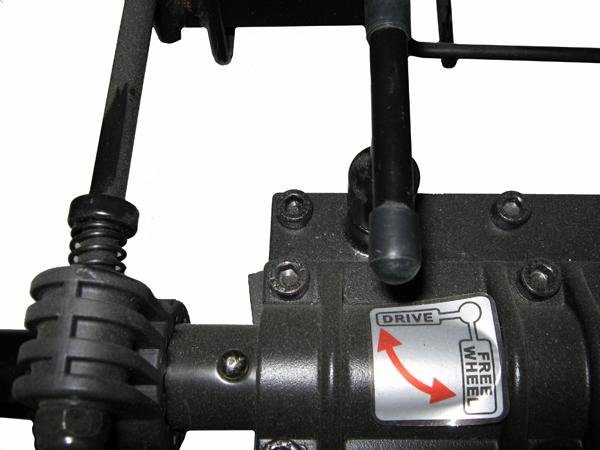
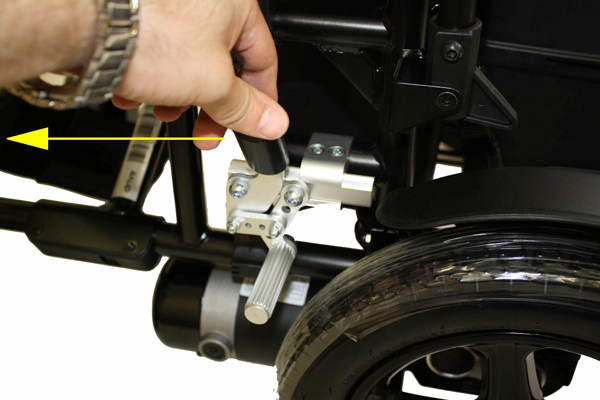
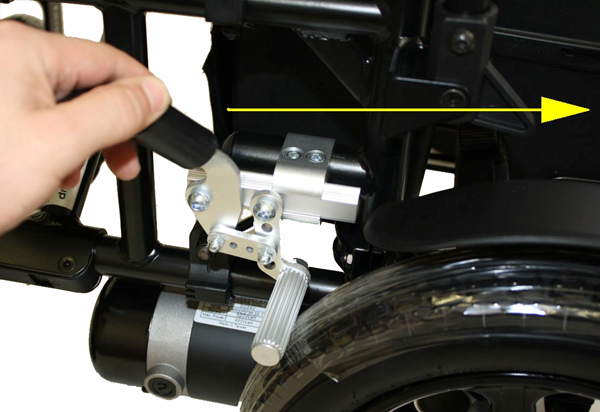
28. Before the Cirrus Plus power chair can be driven, both motors freewheel levers must be set to the drive position.
29. If the Cirrus Plus power chair is to be pushed manually, put the freewheel lever in the freewheel position.
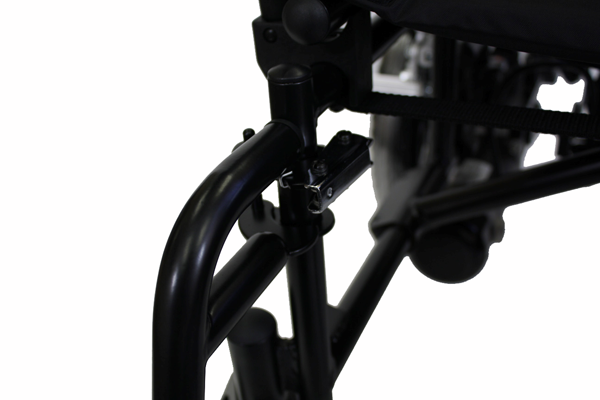
30. To lock the drive wheels push the wheel lock handles towards the front of the Cirrus Plus power chair.
31. To release the wheel locks push the wheel lock handle towards the rear of the Cirrus Plus power chair.
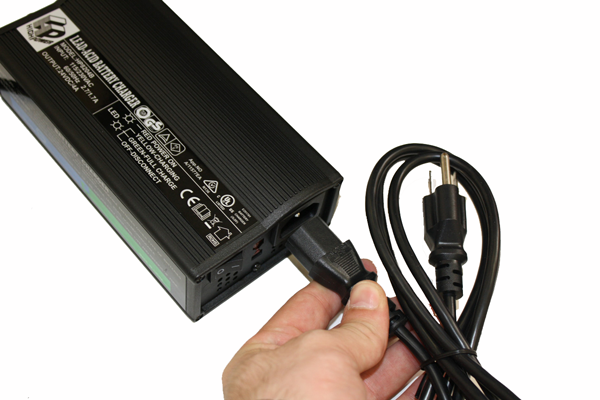
32. Connect the power cord to the battery charger.
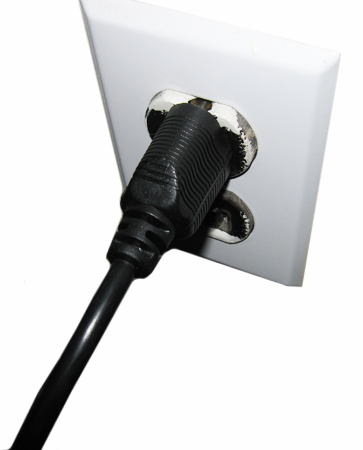
33. Plug the battery charger into a wall outlet.
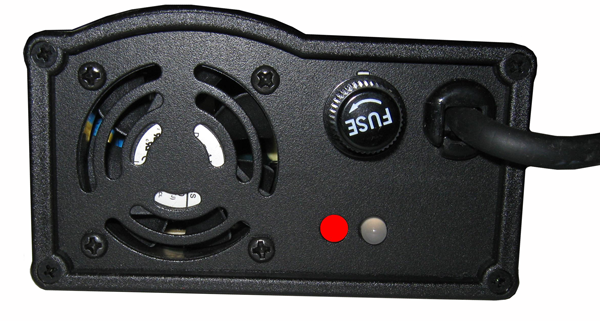
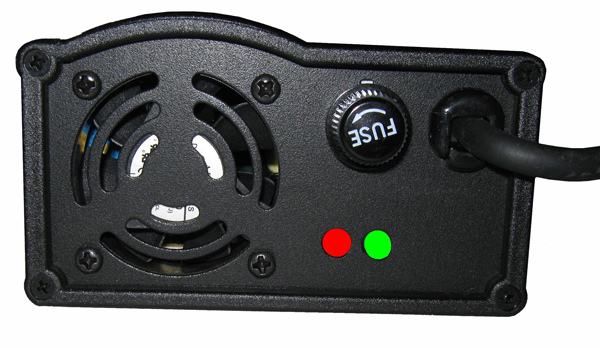
34. The red light on the charger will come on to indicate there is a good connection to the wall outlet.
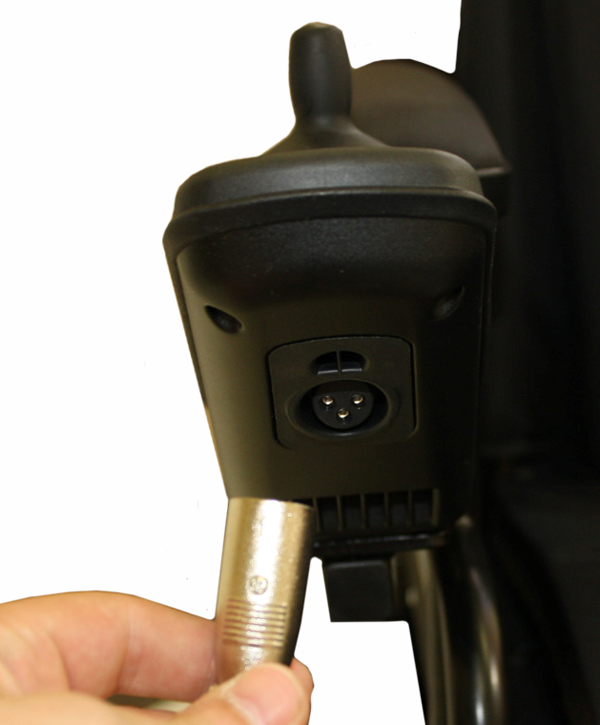
35. Make certain that the chair is turned off. Plug the charger into the charger port on the joystick.
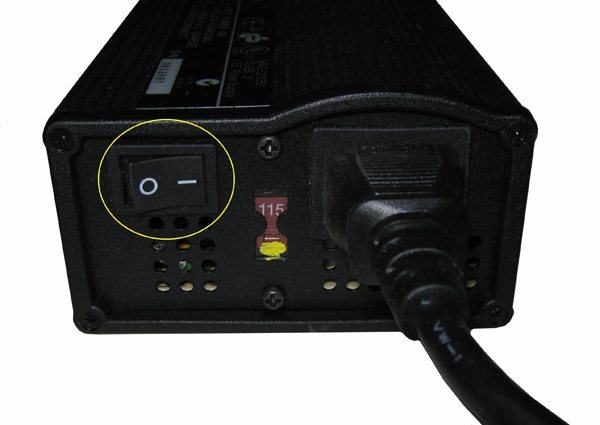
36. Turn the charger on.
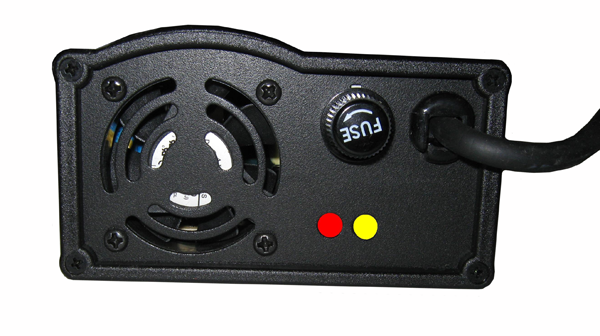
37. The second light on the charger will light up yellow.
38. When charging is complete the yellow light will turn green. Turn the charger off and disconnect the charger from the chair and wall outlet. Charging time will vary with the condition of the batteries and discharged state.


 Home
Home