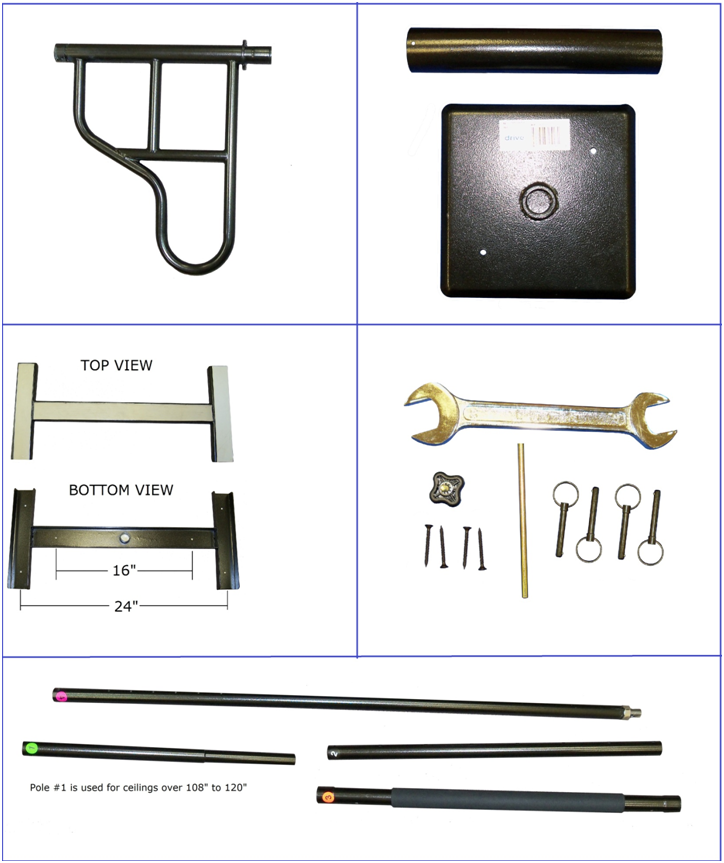
1. Verify that all parts are present.
2. Measure and note the height of the ceiling
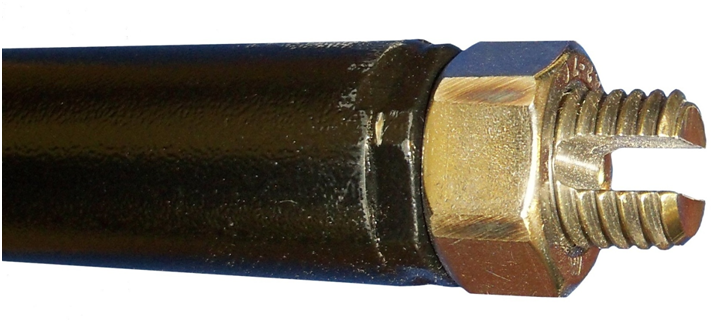
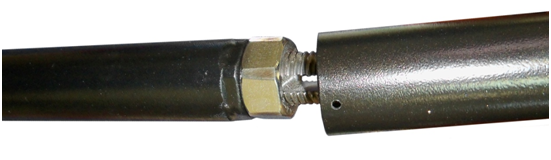
3. Ensure that the threaded adjustment screw on the bottom of Pole #4 is turned into the end of Pole #4, leaving only the adjustment slot of the adjustment screw exposed below the jam nut.
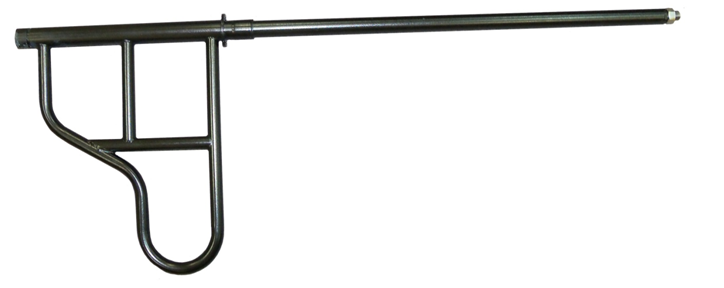
4. Slide the support handle onto pole #4 from the top of pole #4. Make sure the support handle is oriented as shown.
5. Install the locking knob through the hole in the top of the support handle into any of the threaded holes on pole #4. Final adjustment can be made after pole assembly is complete.
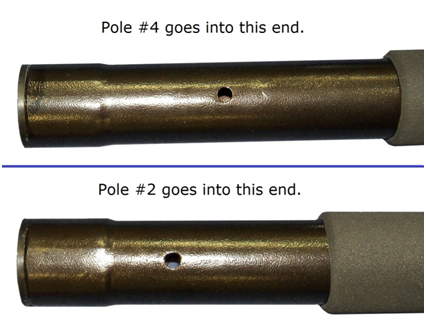
6. Identify the ends of pole #3.
7. Install pole #4 into the correct end of pole #3.
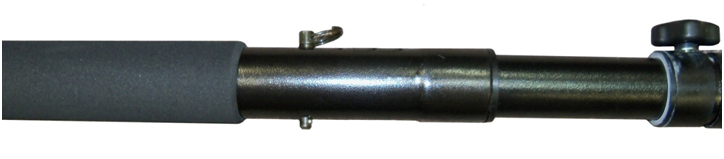
8. Align the hole in pole # 3 with the hole in pole #4. Install a locking pin through the holes.
9. If the ceiling height is between 108” and 120” insert tube #1 into tube #2.
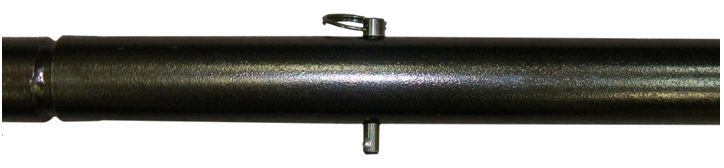
10. Align the holes in tube #1 and #2. Install a locking pin through the holes.
11. Insert pole #2 and pole #1, if it was needed, into pole #3.
12. Set the overall length of the poles, including the adjustment screw, between 1” to 4” shorter than the height of the ceiling. Align the hole in pole #3 with a hole in pole #2. Insert a locking pin into these holes.
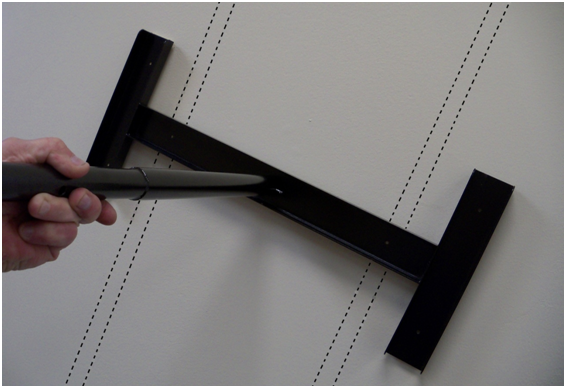
13. Slide the H ceiling bracket into the end of the poles.
14. Align the hole in the pole assembly with the hole in the H bracket and install a locking pin.
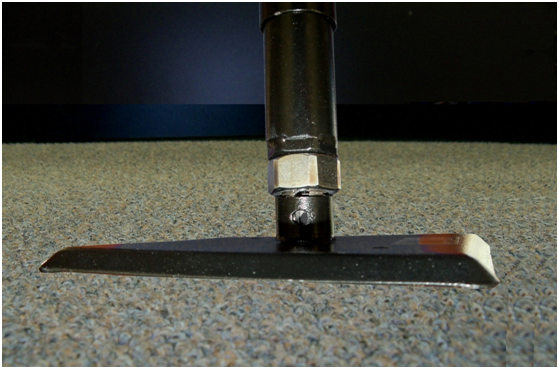
15. Slide the metal sleeve over the bottom end of the pole assembly.
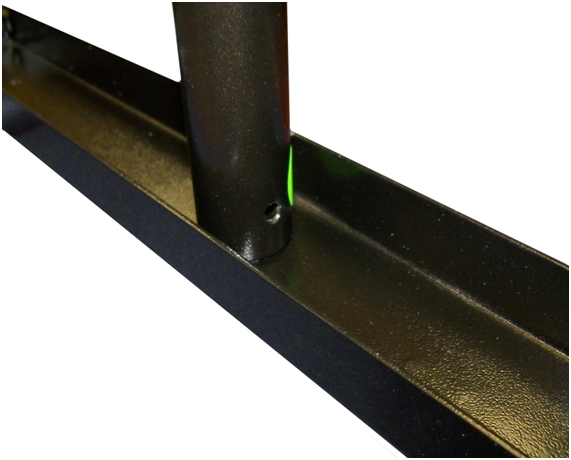
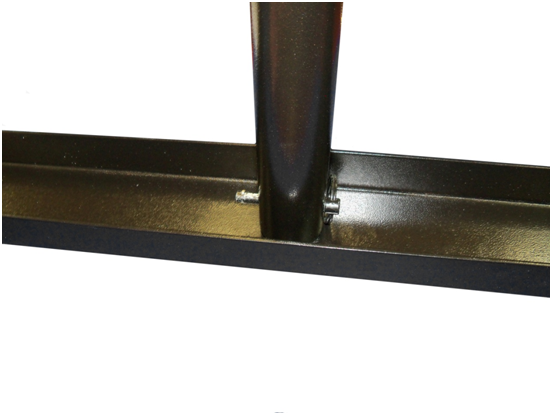
16. Position the floor plate directly beneath and in between two ceiling joist. Grasp the pole assembly and metal sleeve, and begin tilting the pole to a vertical position while inserting the bottom end of the threaded adjustment screw into the sleeve on the foot plate. Align the hole in the floor plate with slot in the adjustment screw.
17. Position the H ceiling bracket with the holes in line with the ceiling joists.
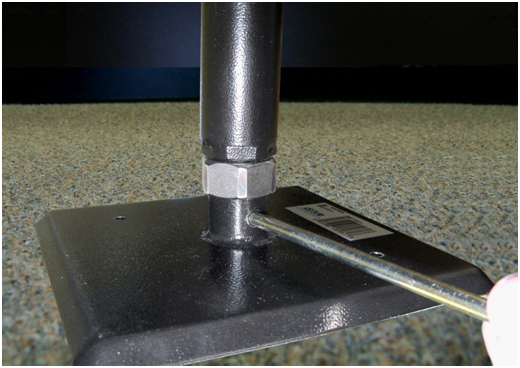
18. After the pole is standing, and while holding the pole plumb, have a helper insert the turn rod into the slot on the threaded adjustment screw.
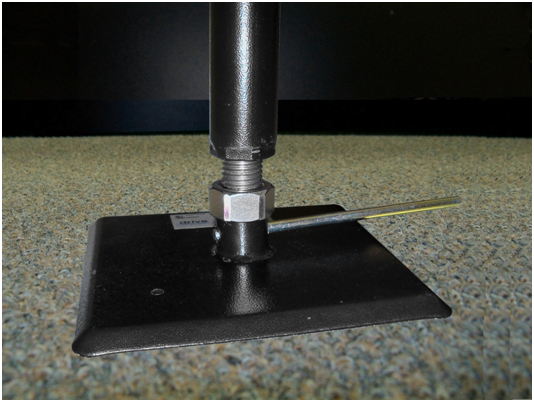
19. Turn the rod, driving the adjustment screw until the pole is slightly wedged between the floor and ceiling. Re-
20. Turn the jam nut up against the bottom of the pole and securely tighten using the provided wrench.
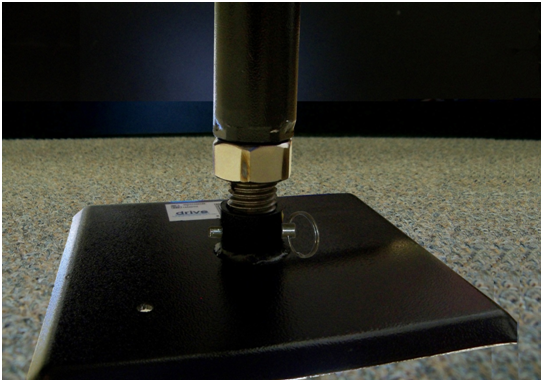
21. Remove the turning rod and install a locking pin.
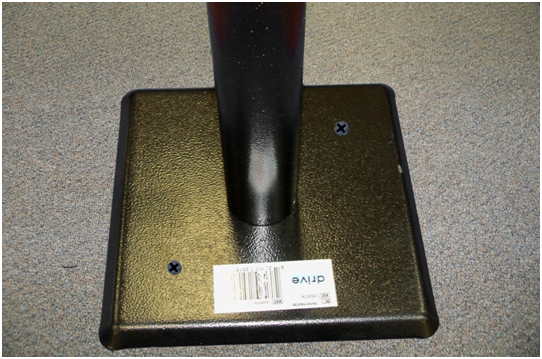
22. For additional safety, Drive recommends that the ceiling bracket and floor bracket be secured using the provided screws. Insert the screws through the proper holes in the ceiling bracket and floor bracket.
23. Slide the metal sleeve down over the jam nut.
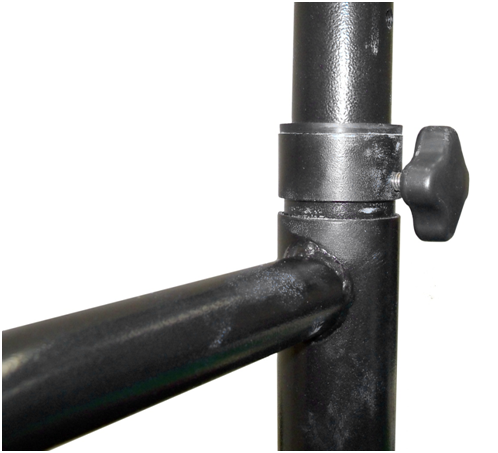
24. While holding the support handle, loosen the knob screw to adjust the height of the support handle. Thread the knob screw into the selected height hole and tighten. The support handle can be rotated by lifting up on the support handle and turning it to the desired position and locking it into place at the desired location.


 Home
Home