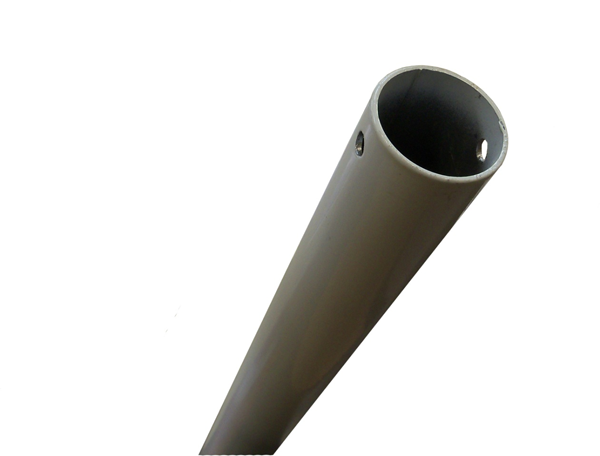
1. Identify the top end of the 15500 E-
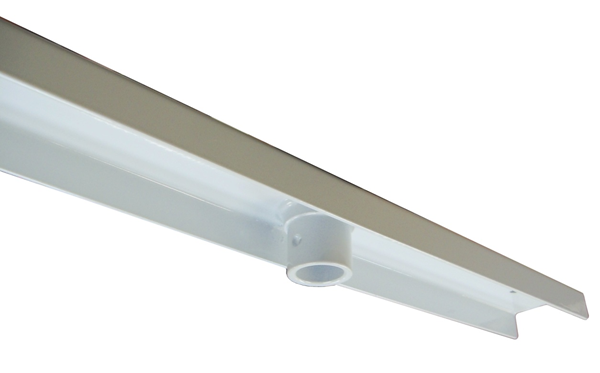
2. Identify the top plate.
3. Insert the top plate into the top of the 15500 E-
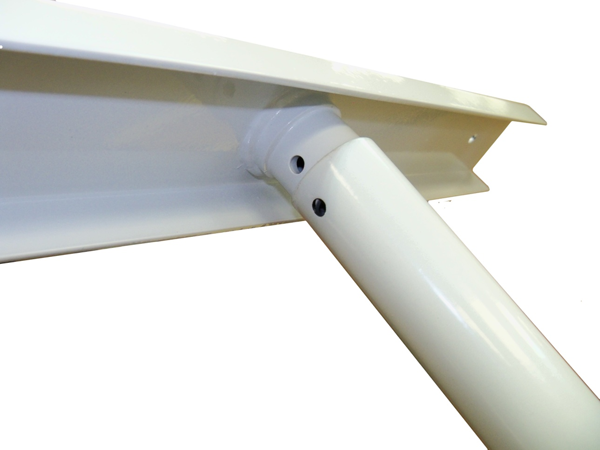
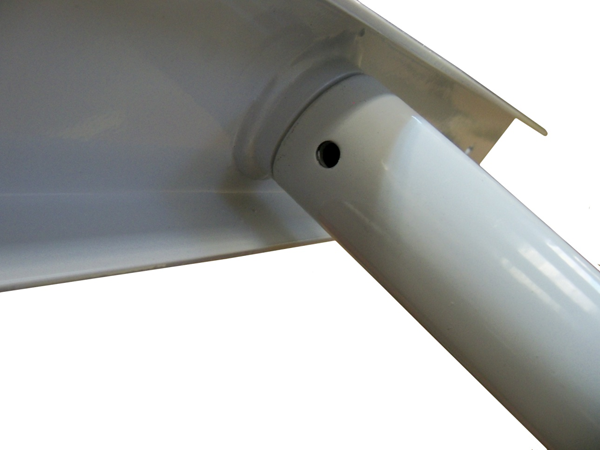
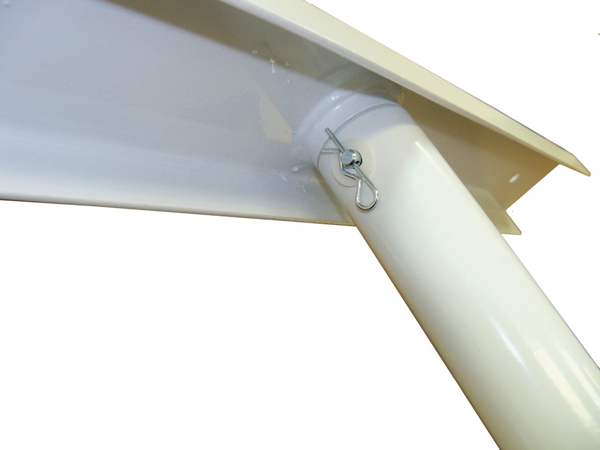
4. Align the holes in the top bracket with the holes in the pole.
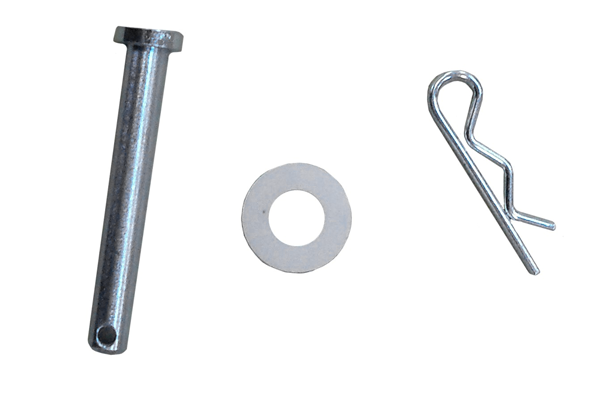
5. Locate the clevis pin, washer and hairpin.
6. Slide the clevis pin through the holes in the top plate and E-
7. Slide the nylon washer over the end of the clevis pin and install the hairpin.
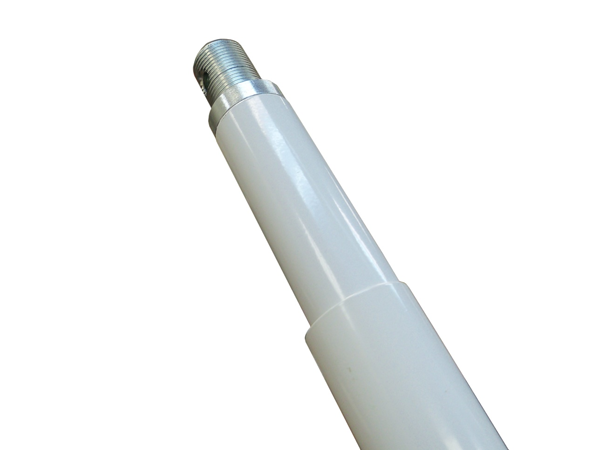
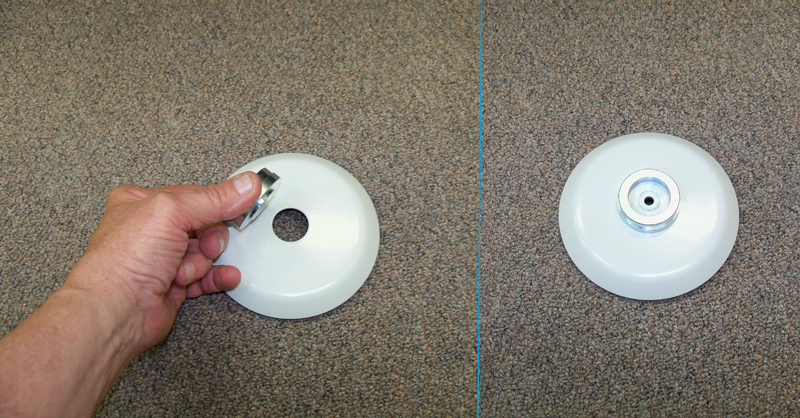
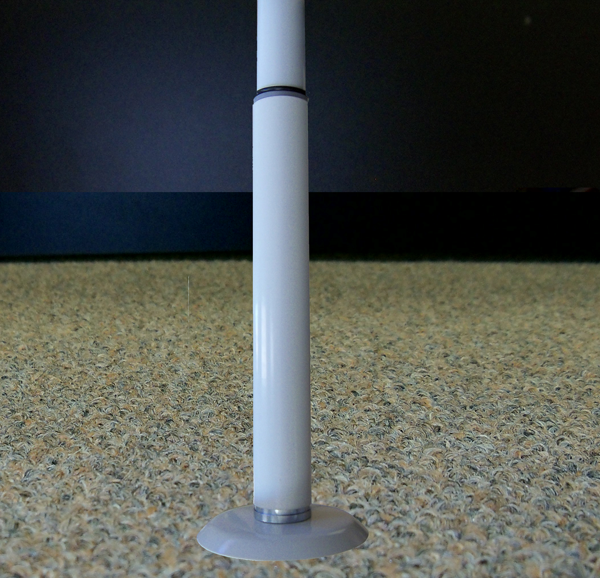
8. Slide the protective cover over the bottom end of the E-
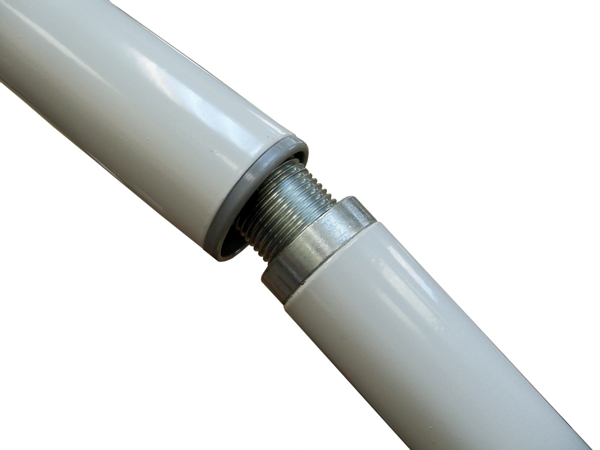
9. Slide the protective cover up high enough so that the jam nut is exposed. Adjust the length of the E-
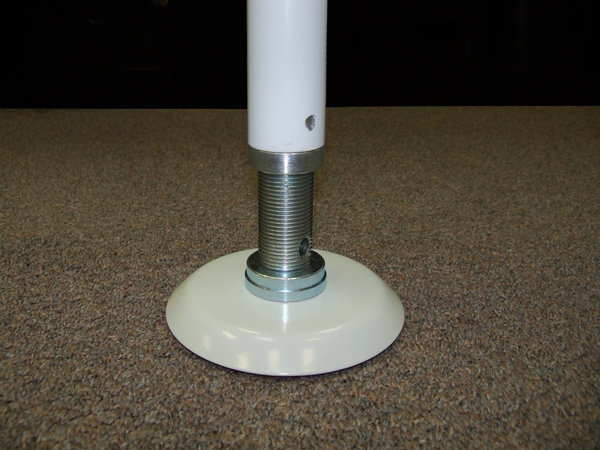
10. Place the jam nut cup into the base.
11. The top bracket must be positioned between two ceiling joists.
12. Insert the jam nut into the jam nut cup on the base plate.
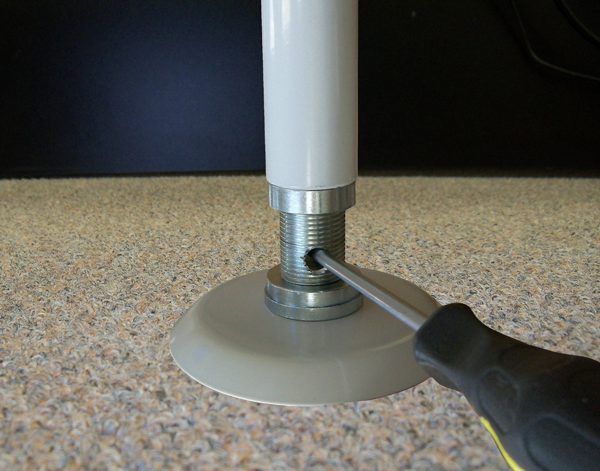
13. Turn the jam nut until the E-
14. Slide the protective cover down over the jam nut.
15. The top bracket should be screwed into the ceiling joist for a secured installation.

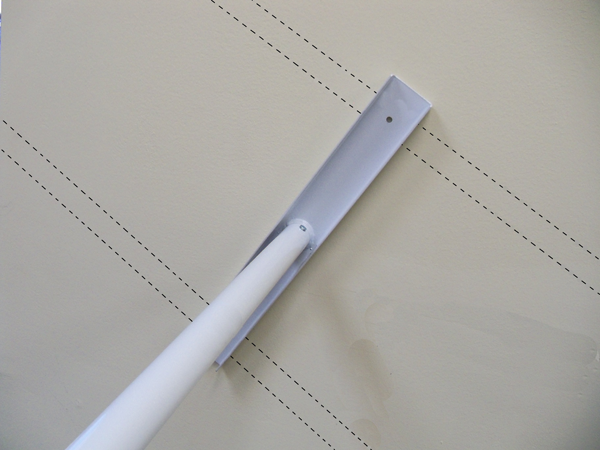
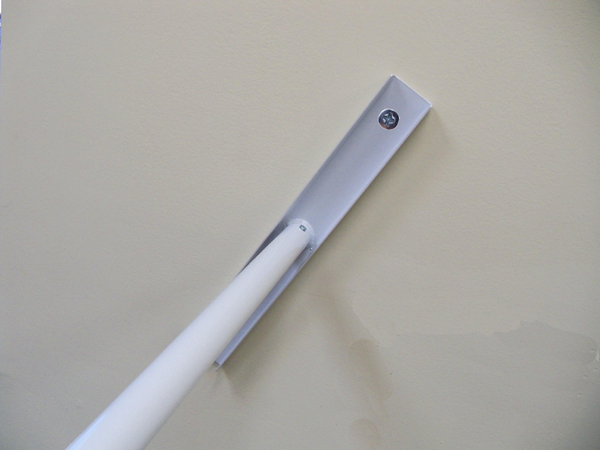
 Home
Home