2. Turn the scooter on and note the number of times the green light on the control panel flashes. Refer to the fault code chart for a starting point for troubleshooting.
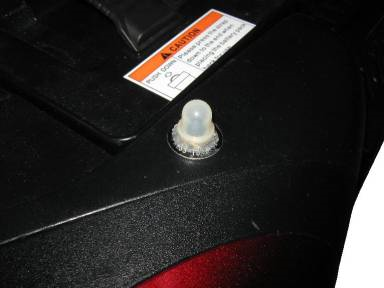
3. If the scooter is completely dead, locate and press the circuit breaker button on the rear shroud.
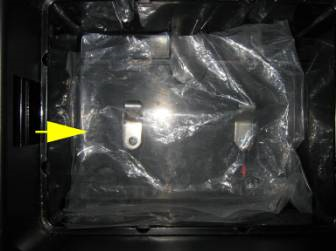
4. Check that the batteries are connected properly. Note that new scooters are shipped with the batteries disconnected or a sheet of plastic between the battery box and the contacts on the scooter to prevent accidental discharge.
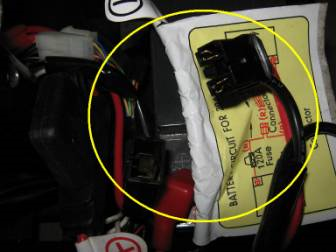
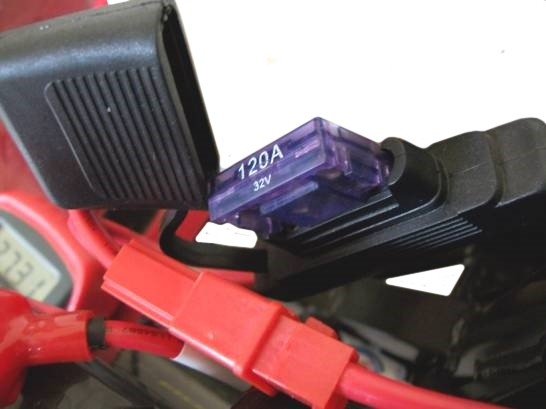
5. Check the large fuse located in the battery harness.
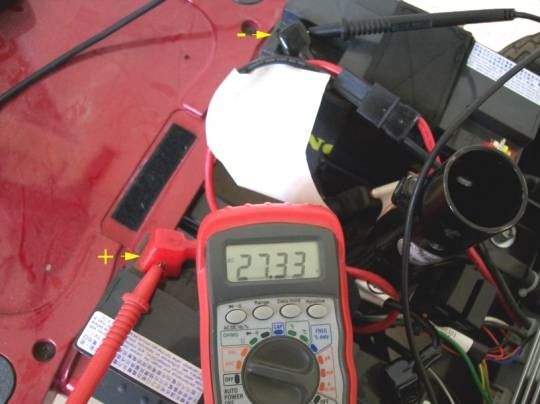
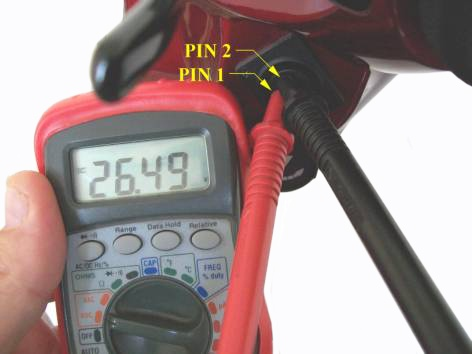
6. Check that the batteries are charged. You should be reading 24-
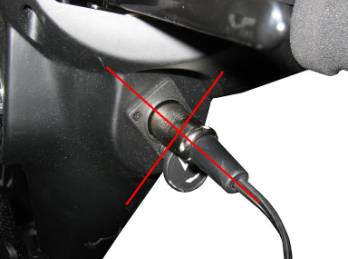
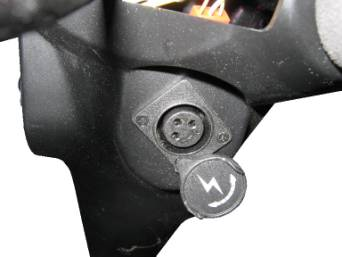
7. See that power is getting to the tiller by inserting the meter test probes into pins 1 and 2 of the charger port at the tiller.
8. If the readings are the same as on the batteries, test the on-
9. If there is no voltage at the tiller, locate and expose any fuses in their holders. They are in various places in the wire harness..
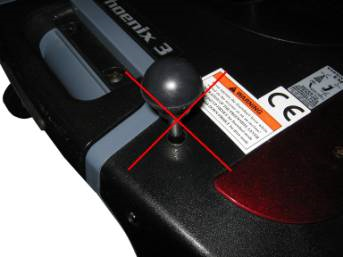
1. Check that the charger is not plugged in, and that the freewheel lever is in the “engaged” position. When the freewheel lever is in the proper position, the scooter can not be manually pushed. Either fault will cause the scooter to go into “inhibit” mode and not drive.

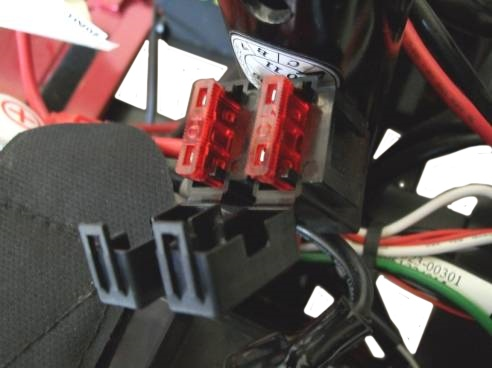
Turn the scooter off. Set the multimeter to the “ohms” function, with the scale on the lowest setting. Touch the two test leads together to check that the meter is working properly, by a reading close to 0. Next, touch the test probes to the little metal tabs on each fuse. The readings should be the same as when you touched the leads together. If nothing changes, the fuse is bad and must be replaced.