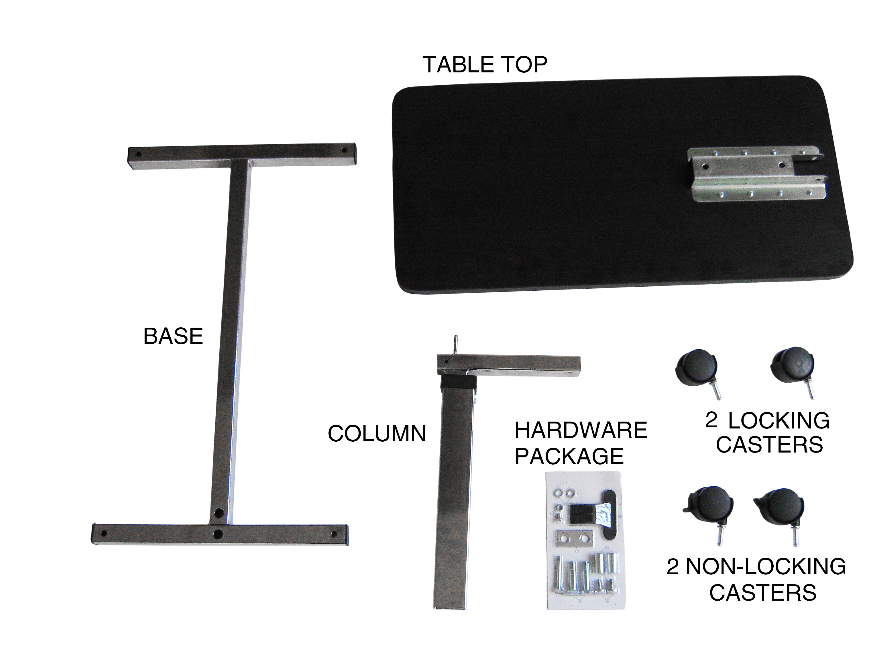
1. Open box and remove all the parts and verify all parts are present.
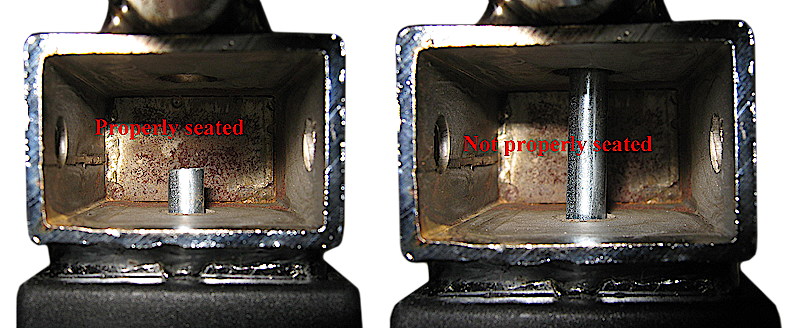
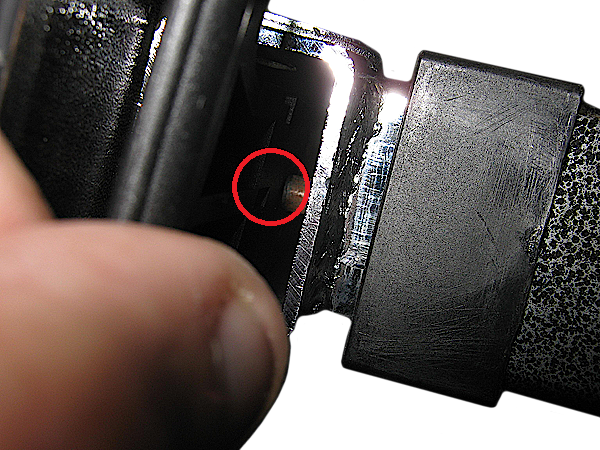
2. Make sure the trip rod in the column is fully inserted in the column. If it is not shake the column until the trip rod is properly seated.
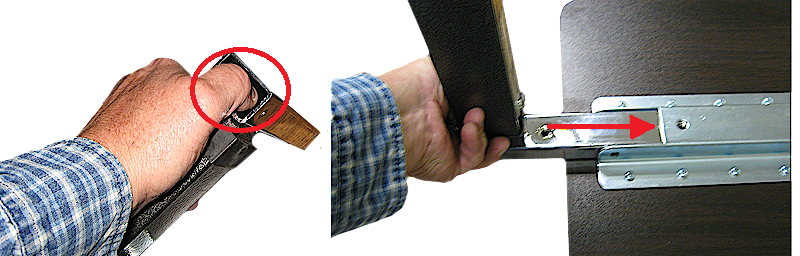
3. Hold the trip rod in place and insert the column into the bracket on the table top.
4. Align the holes in the column with the bracket on the table top. Insert one Pan Head Screw & Lockwasher in each hole & tighten.
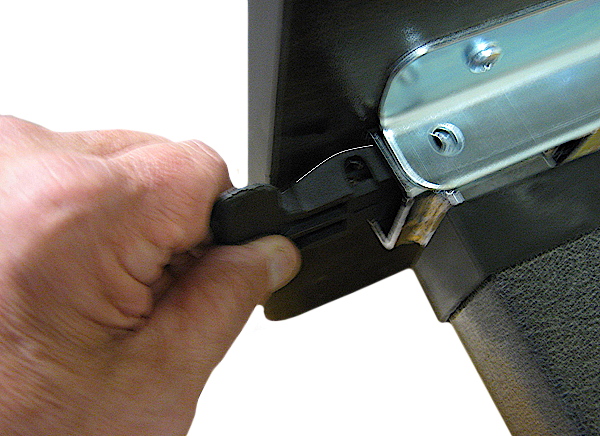
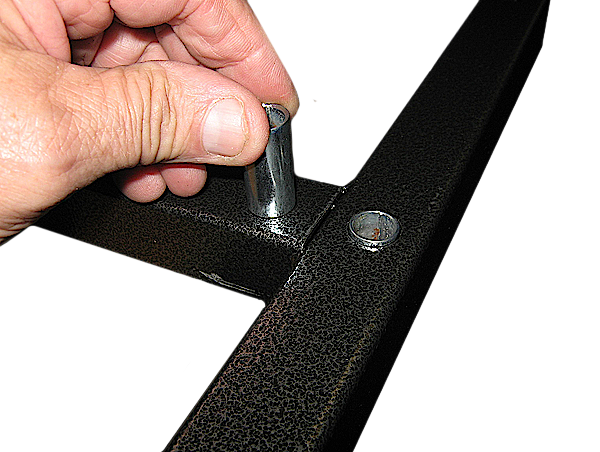
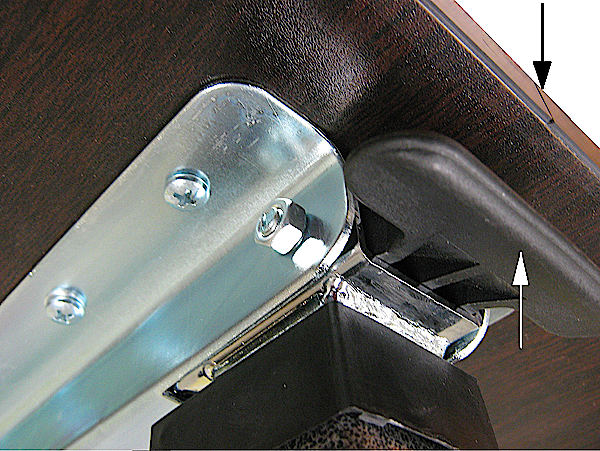
5. Insert the trip lever with the curve part facing towards the bottom of the table.
6. Make sure that the trip lever sits on top of the trip rod in the column.
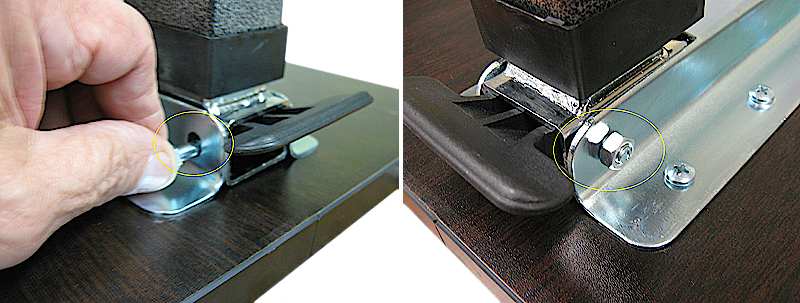
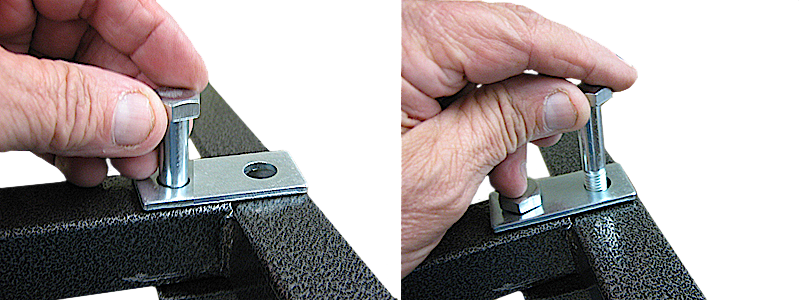
7. Align the hole in the trip lever with the hole in the column.
8. Insert the single long bolt through the hole. Install the nut and tighten.
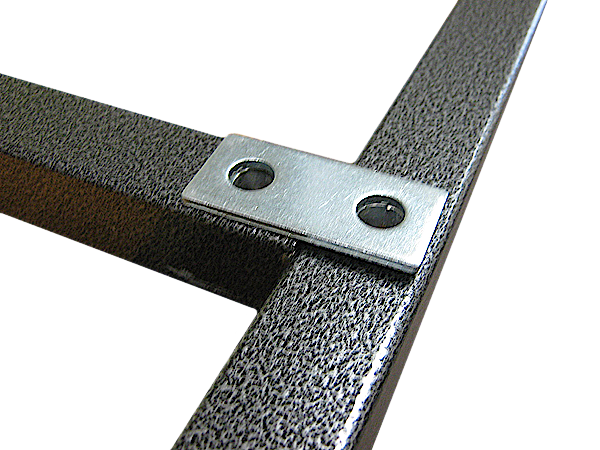
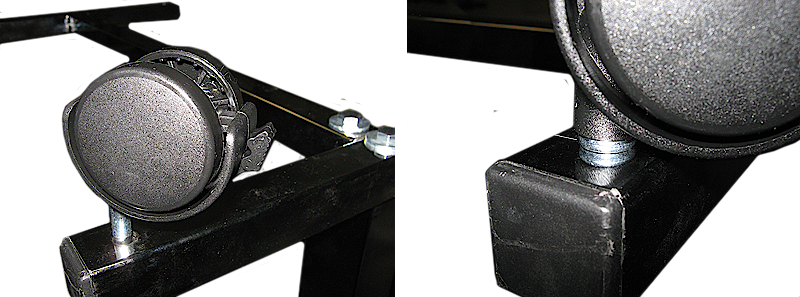
9. Place the two bolt sleeves in the base.
10. Put the bolt plate on top of the bolt sleeves.
11. Align the holes in the base with the bottom of the column. Install the two shorter bolts and tighten. The base must be install in the same direction of the table top.
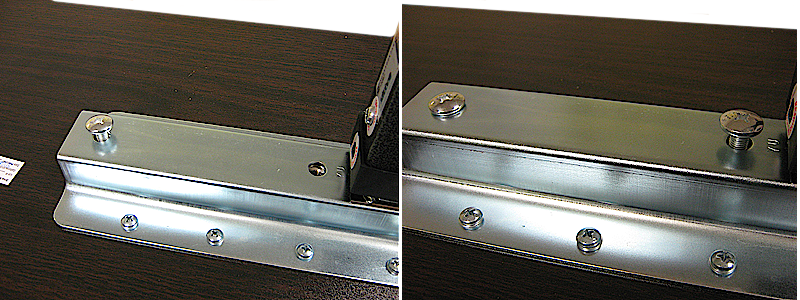
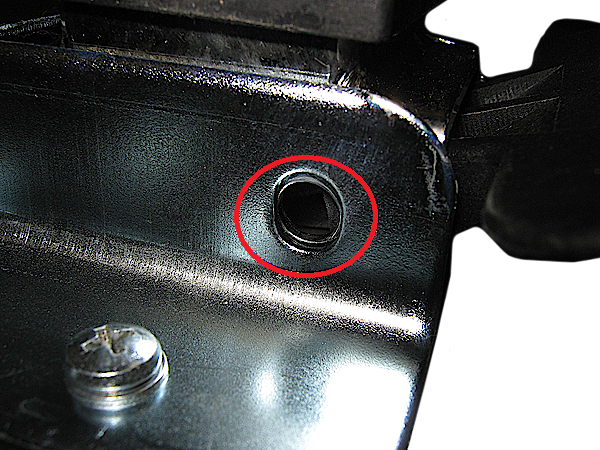
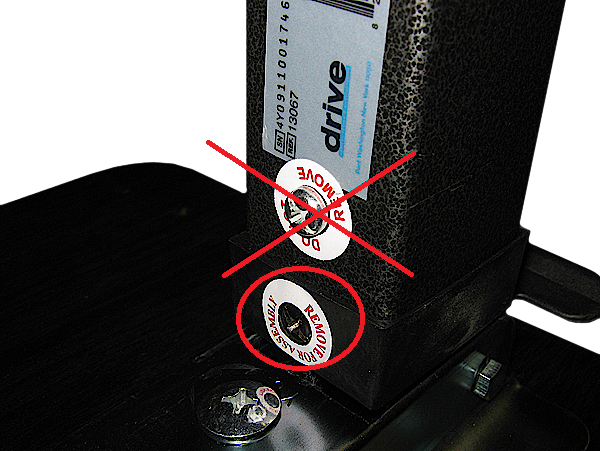
12. Remove the screw labeled “Remove for Assembly” & replace with small screw in parts package.
DO NOT REMOVE THE SILVER SCREW.
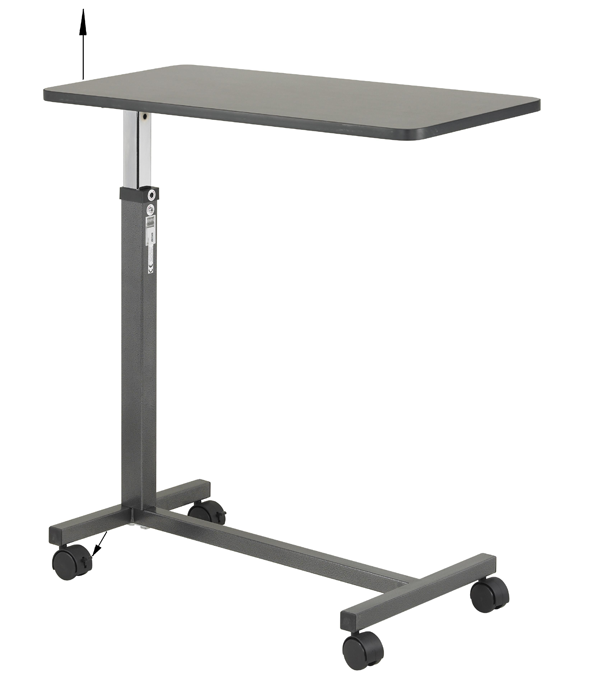
13. Install the caster by pushing them into the holes in the base. Push them in as far as the stop. The non locking casters are furthest from the column and the locking caster are closest to the column.
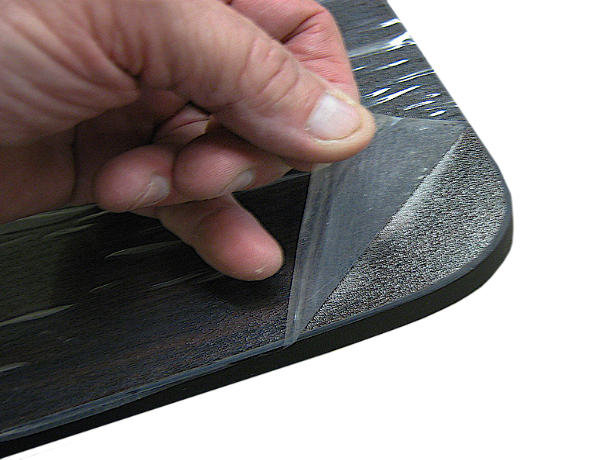
14. Remove the protective film from the top of the table.
15. To lock the casters step down on the caster locking levers. To increase the height of the table gently lift up the table top.
16. To lower the table, lift up on the trip lever and push down on the table top.
 Home
Home