
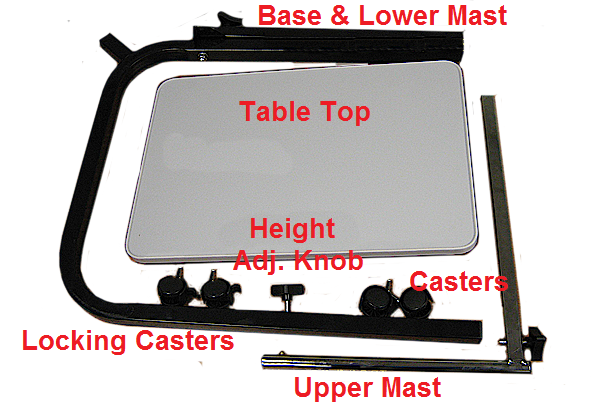
1. Verify that all parts are present.
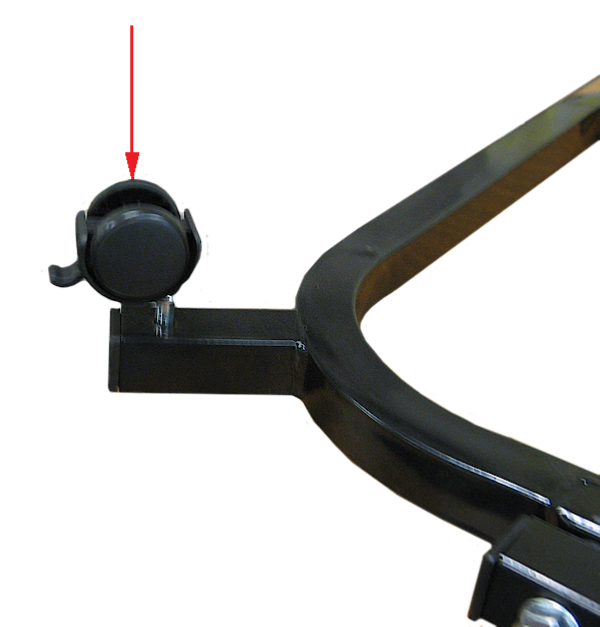
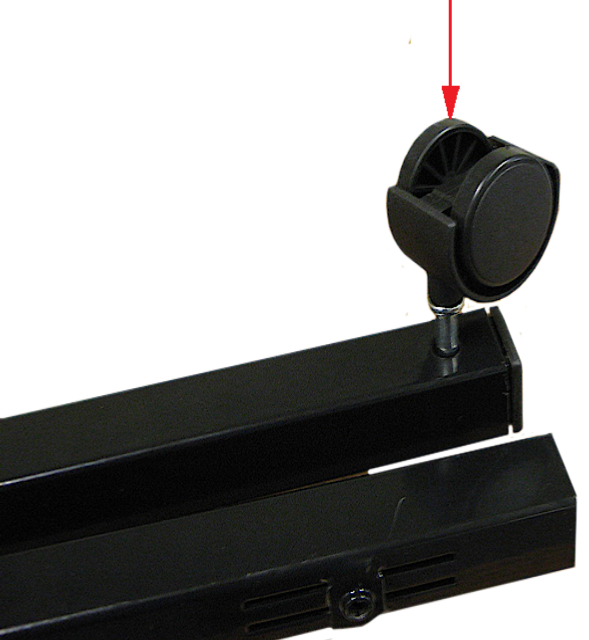
2. Install the two locking casters in the holes provided in the rear of the base. Make sure that the casters are inserted all the way.
3. Install the two casters in the holes provided in the rear of the base. Make sure that the casters are inserted all the way.
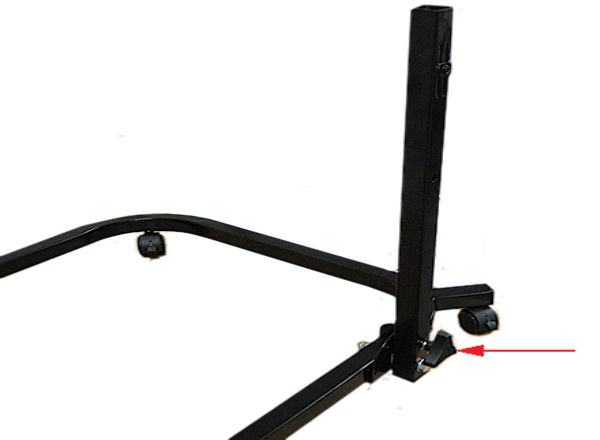
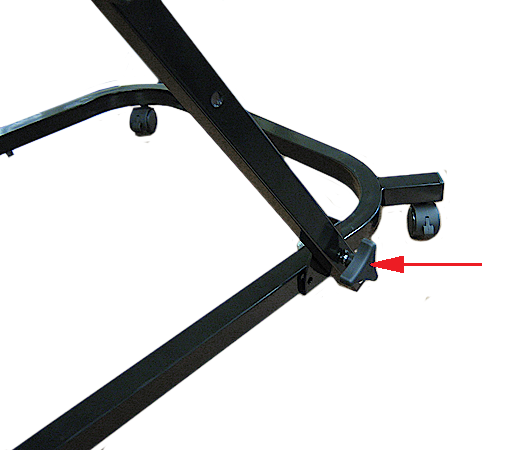
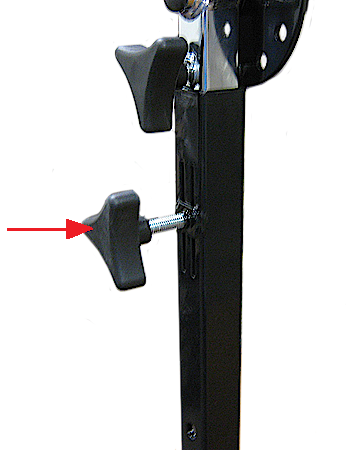
4. Set the base upright. Loosen the lower base locking knob by turning it counterclockwise. Set the lower mast at 90 degrees. Lock the lower mast in place by turning the knob clockwise.
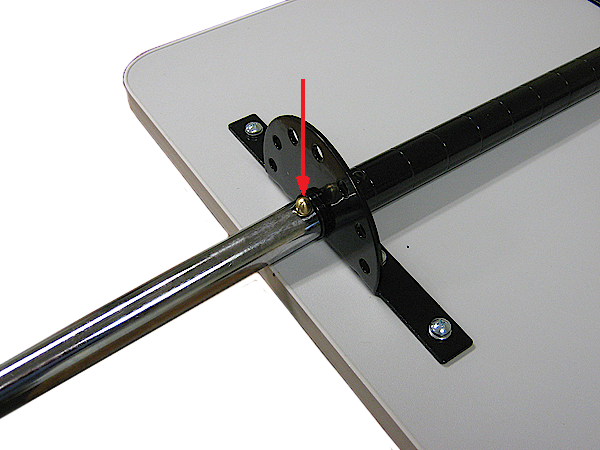
5. Insert the round part of the upper mast into the tilt bracket on the underside of the table. Push in the locking button and continue pushing in the upper mast until it locks into place.
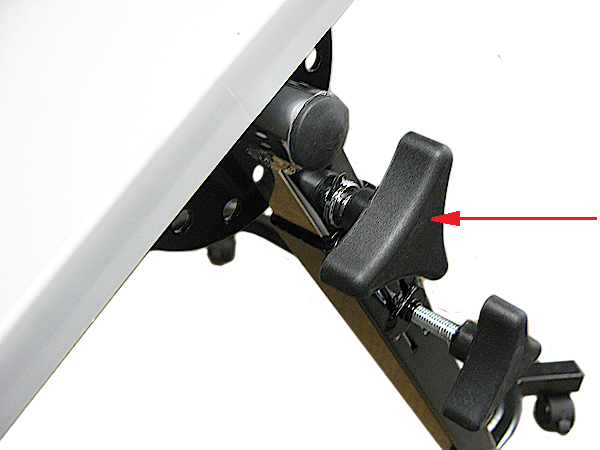
6. Make sure the lower mast is set at 90 degrees. If it is not, loosen the upper base locking knob by turning it counterclockwise. Set the upper mast at 90 degrees to the table top. Lock the lower mast in place by turning the knob clockwise.
7. Slide the upper mast into the lower mast.
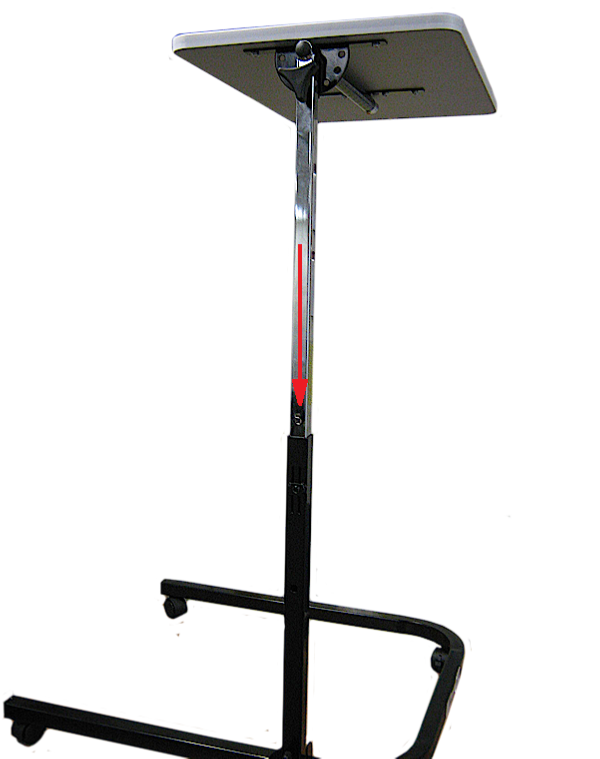
8. Install the mast height locking knob. The unit is now assembled and ready to use.
9. The lower mast can be set at either 45 or 90 degrees to the floor. To change the angle, loosen the lower base locking knob by turning it counterclockwise. Move the mast to the new position. Lock the lower mast in place by turning the knob clockwise.
10. The table top can tilt 180 degrees at 30 degree intervals. To change the angle of the table top, loosen the upper base locking knob by turning it counterclockwise. Set the upper mast at angle desired. Lock the lower mast in place by turning the knob clockwise.
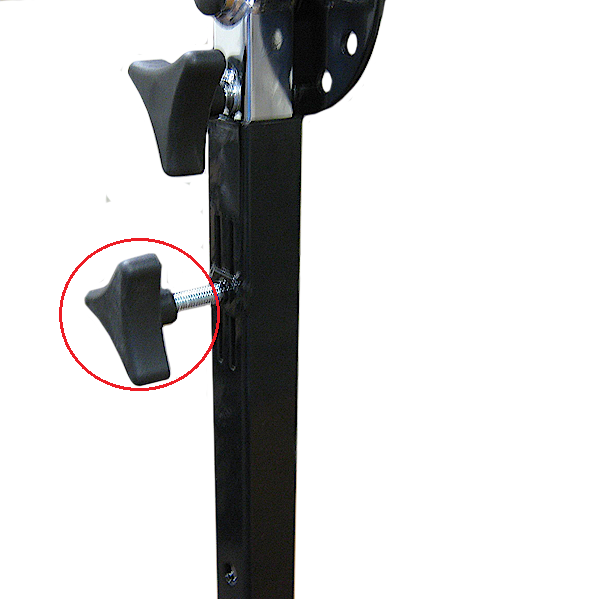
11. To change the height of the table loosen the height adjustment knob by turning counterclockwise and move the table to the desired height. Tighten the knob by turning clockwise. To prevent the table from pulling away from the base a safety locking devise is employed.

 Home
Home