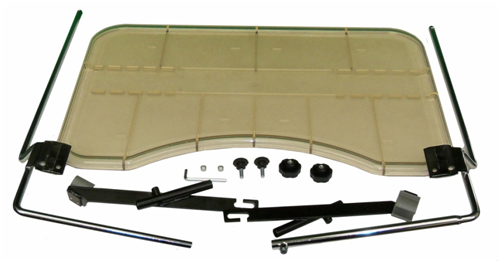
1. Verify that all parts are present.
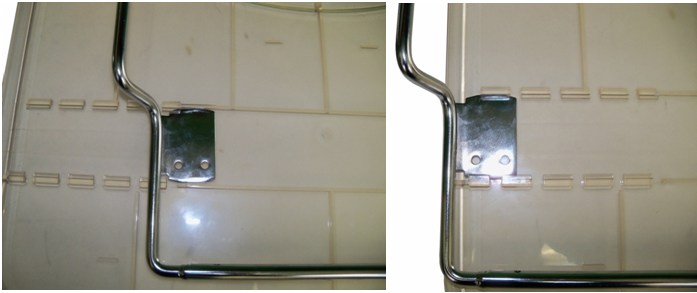
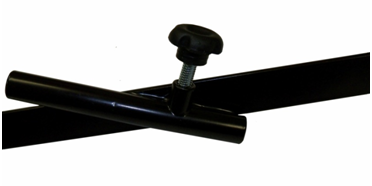
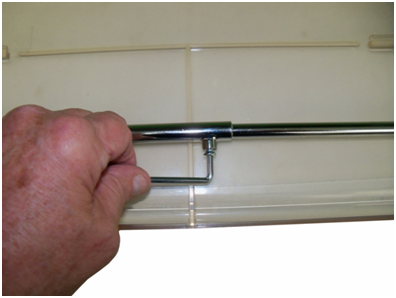
2. Flip the tray over. Slide in the bracket with the set crew into the molded bracket holders. Start from the inside and push the bracket to the edge. Repeat for the other bracket.
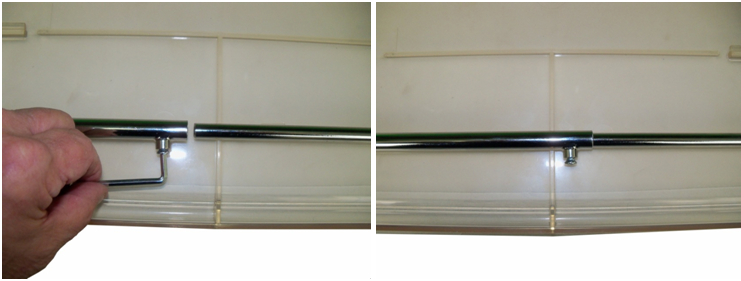
3. Loosen the set screw and slide the bracket without the set screw into the bracket with the set screw. Do not tighten.
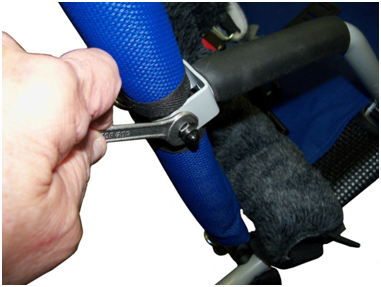
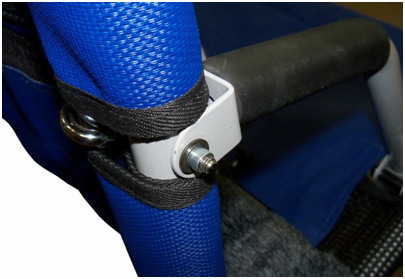
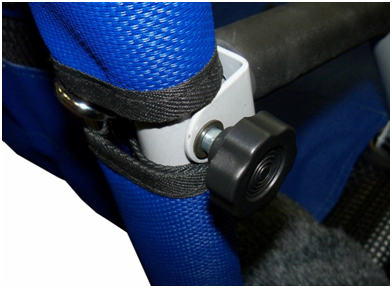
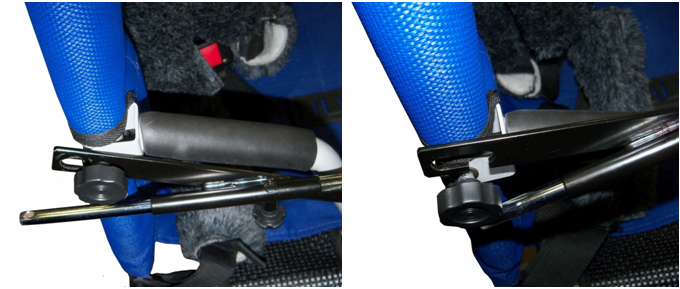
4. Remove nut from upper armrest attachment point. Leave the washer in place on the threaded rod.
5. Slide one of the two spacers on to the thread rod. Verify that the washer is in between the frame and spacer.
6. Tighten the female knob onto the threaded rod. Lock-
7. Screw the male knobs in to the tray armrest brackets. Do not tighten more than two turns.
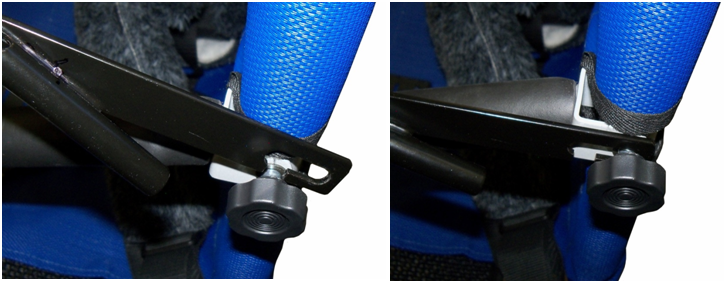
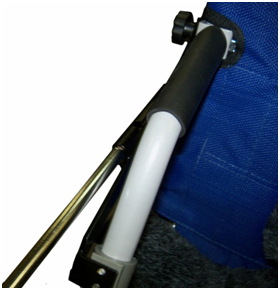
8. With the welded round tube facing outward, slide the cut out end of the armrest tray bracket over the spacer and pull forward.
9. Snap the lower portion of the armrest bracket onto the frame of the Trotter.
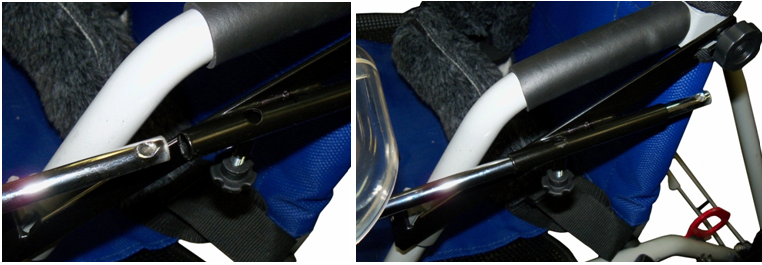
10. Insert the longer of the tray brackets into the armrest bracket.
11. Adjust the tray brackets so the other tray bracket aligns with the other armrest bracket. Slide the tray bracket into the armrest bracket/
12. Making sure that both sides of the tray are equal distance from the arm frame, tighten the set screw in the tray bracket.
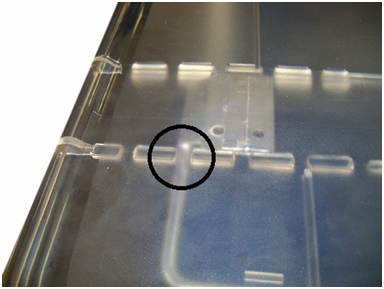
13. Slide the tray side to side so that the tray brackets snaps into one of the groove in the tray.
14. Slide the tray in or out to achieve the needed position for used. Tighten the two armrest bracket knobs.
Removal of the tray.
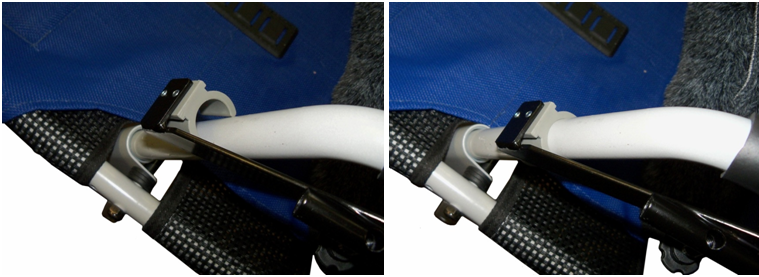
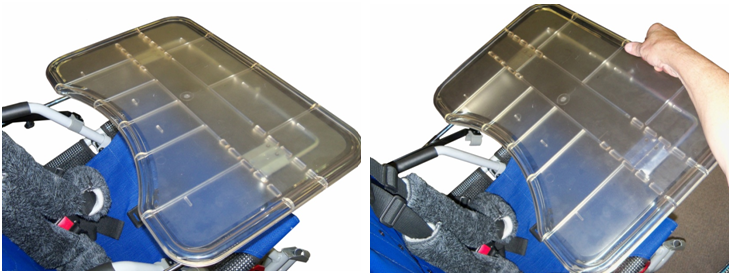
1. Lift up on the front of the tray. This will pull the clips of the armrest bracket off the frame.
2. Slide the tray backwards and lift the tray off the spacers installed on the Trotter. Install in reverse.


 Home
Home