
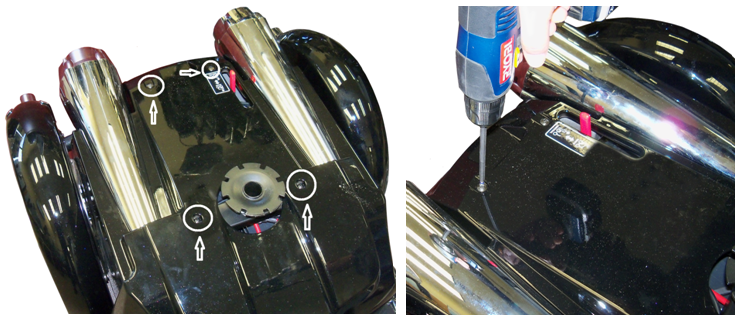
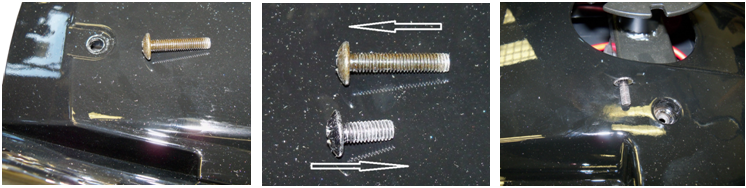
1. Locate the 4 screws holding the rear shroud to the main frame and remove the screws.
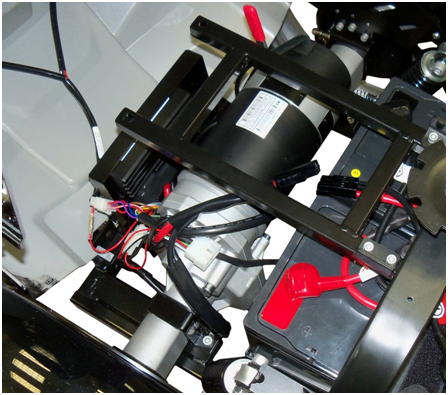
2. Tilt the shroud towards the back of the Maverick to expose the batteries.
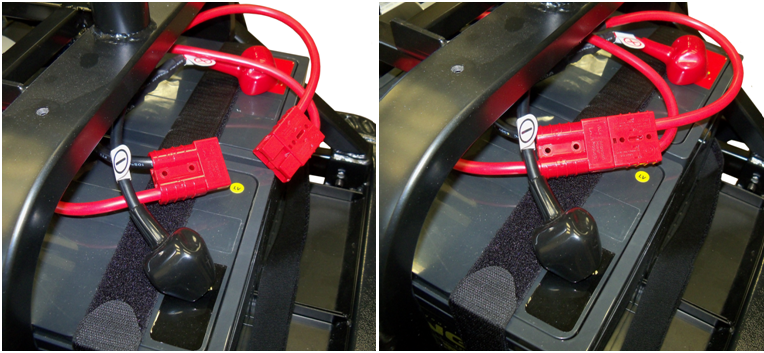
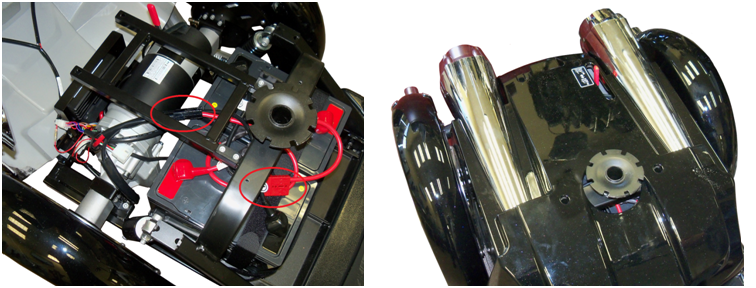
3. Locate the large red connector towards the front of the Maverick. It may or may not be connected. Connect by pushing both red connectors together.
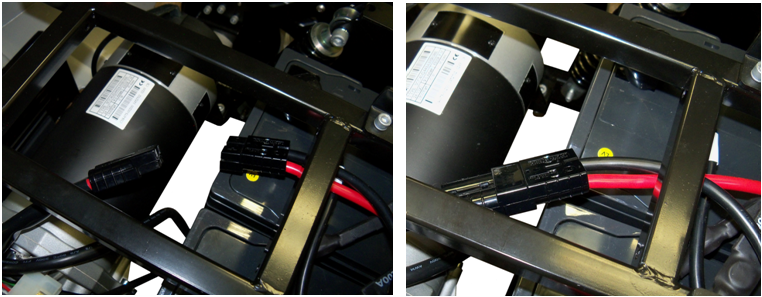
4. Locate the large black connector located towards the rear of the Maverick. These will be disconnected. Connect by pushing both black connectors together.
5. After both connections are connected place the rear shroud back on the rear frame.
6. Screw the shroud back onto the frame. The small screws are used in the front of the shroud and the longer screws are used in the rear of the shroud.
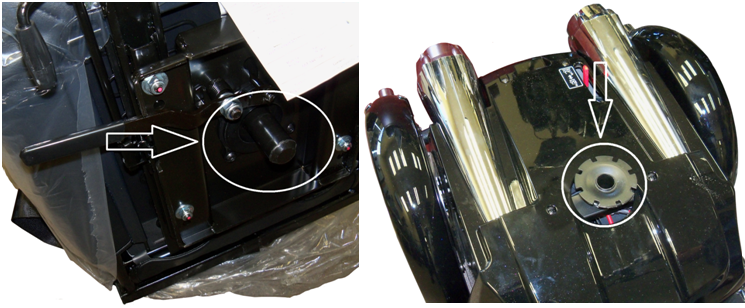
7. To install the seat slide the post on the seat plate into the seat post on the frame of the Maverick.
8. When the seat is seated on the frame pull the adjustment lever rearward and turn the seat back and forth to completely engage the seat on the frame. The seat should lock in place when the lever is released.
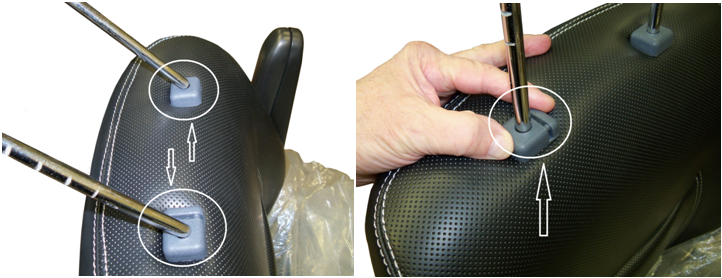
9. To install the headrest, align the two posts on the headrest with the mount on the back of the chair and insert into the mounts. Squeeze the adjustment lock and set the headrest to the desired height and release the button. Move the headrest up or down until the adjustment lock engages.

 Home
Home