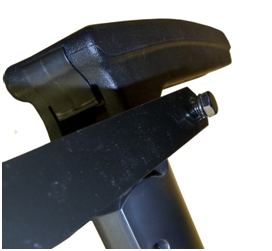
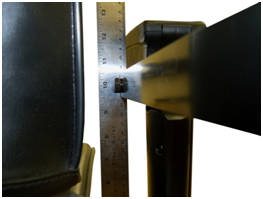
1. Verify the armrest pivot bolt can be adjusted to 10”, + or – ¼”.
2. Verify that all parts are present.
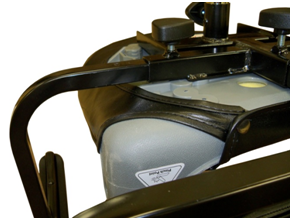
3. Remove the seat from the scooter and place upside down. Locate the accessory mounting bar and remove the end cap if present.
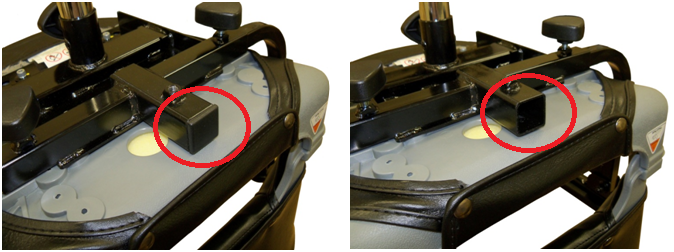
4. Slide the SF8050 mounting bar into the accessory mounting bar and screw in the locking knob. Do not tighten the knob. The SF8050 mounting bar should be able to slide back and forth.
5. Align the holes in the “U” bracket with the holes in the mounting bar.
6. Install a bolt and nut through one of the hole and tighten by hand, repeat for the other side. Tighten both bolts and nuts.
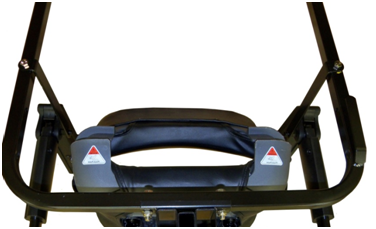
7. Loosen both armrest knobs.
8. Install both armrest brackets to the inside of the “U” bracket. Tighten by hand each of the bolts and nuts.
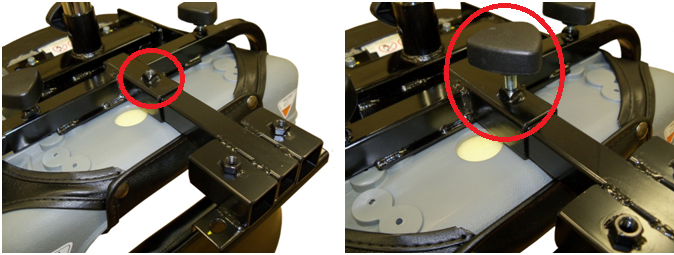
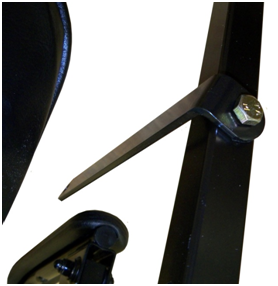
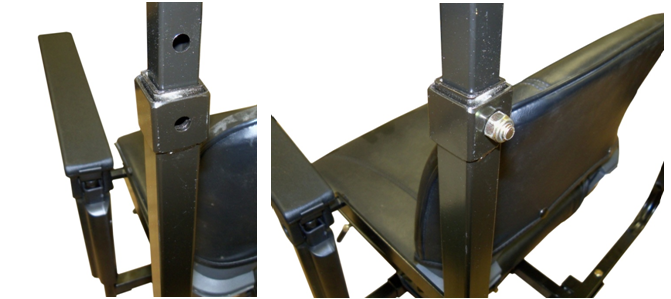
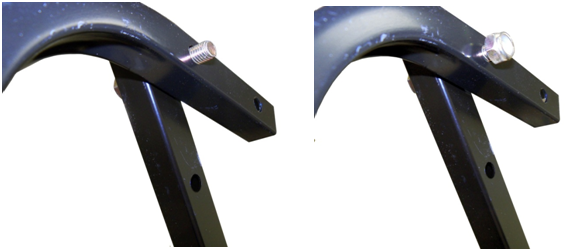
9. Locate and remove the nut from the armrest pivot bolt.
10. Install and tighten the extended nut.
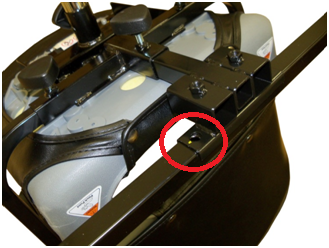
11. Slide the “U” bracket until the hole in the armrest bracket aligns with the threaded hole in the extended nut.
12. Install a bolt through the hole in the armrest bracket and tighten by hand it into the extended nut.
13. Repeat steps 9 through 12 for the other side. Tighten all the bolts and nuts and knobs. Install the seat on to the scooter.
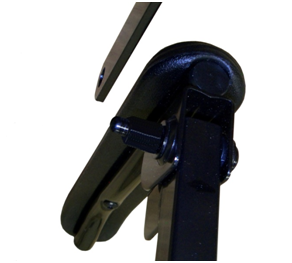
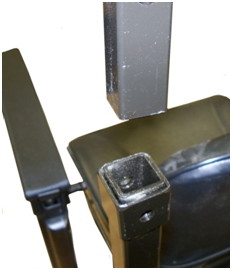
14. Slide one of the “L” support brackets into one side of the “U” bracket.
15. Align the hole in the “L” support bracket with the hole in the “U” bracket and install a nut and bolt. Tighten the nut and bolt. Repeat for the other side.
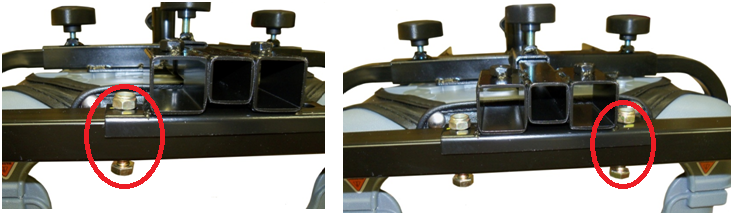
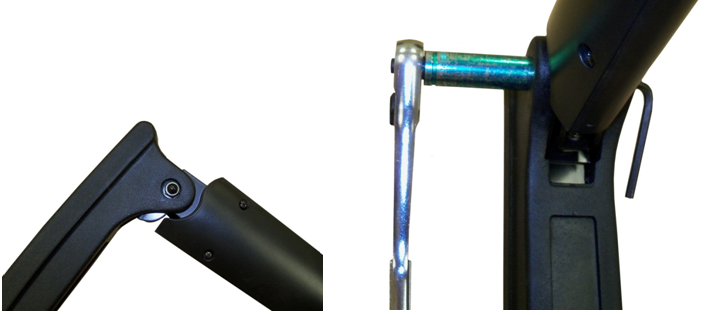
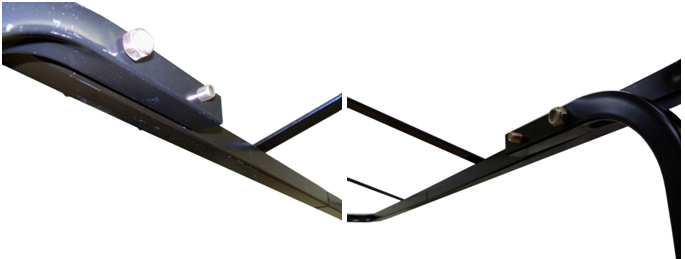
16. Position the main frame so that the rear holes align with the rear holes in the “L” bracket. Slide a bolt through these holes. The head of the bolt is on the outside of the frame. Tighten by hand a nut onto each bolt.
17. Pivot the main frame upward to align the forward holes on each side with the forward holes in the “L” bracket. Slide a bolt through these holes. The head of the bolt is on the outside of the frame. Place a nut on each of these bolts and tighten all four nuts and bolts on the main frame.
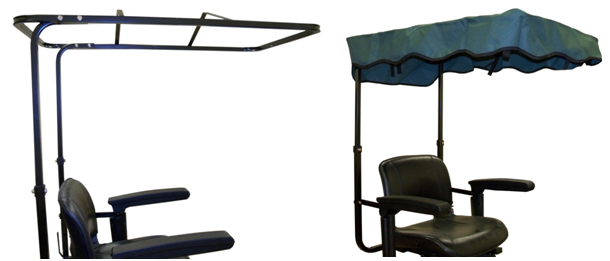
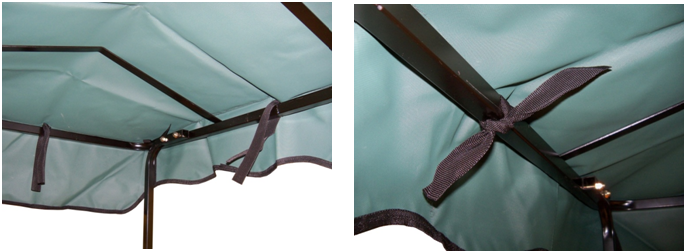
18. Slide the canopy over the main frame with the larger flap in the rear.
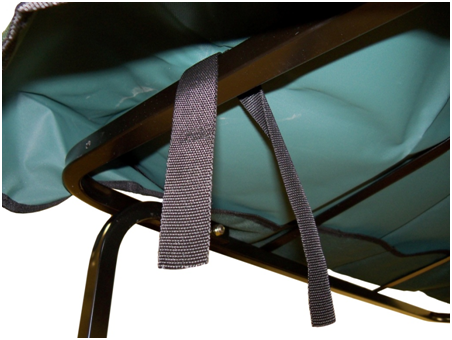
19. Position the hold down straps over the frame.
20. Tie all straps. The sunshade is now installed.


 Dimension Diagram
Home
Dimension Diagram
Home